How to Build a Blog with Laravel - Part 5 - Frontend with PicoCSS
I know that utility-first frontend frameworks are all the rage these days, but I'm a purist at heart and think that inlining a bunch of styles with your markup is a recipe for disaster. It may be fine if you are copy-and-pasting components from somewhere, but it makes your code difficult to maintain. I think the idea of "separation of concerns" really needs to make a comeback, so I'm going to take that approach here. Anyways, that's a long way of saying I'm not going to be using TailwindCSS for our blog's frontend.
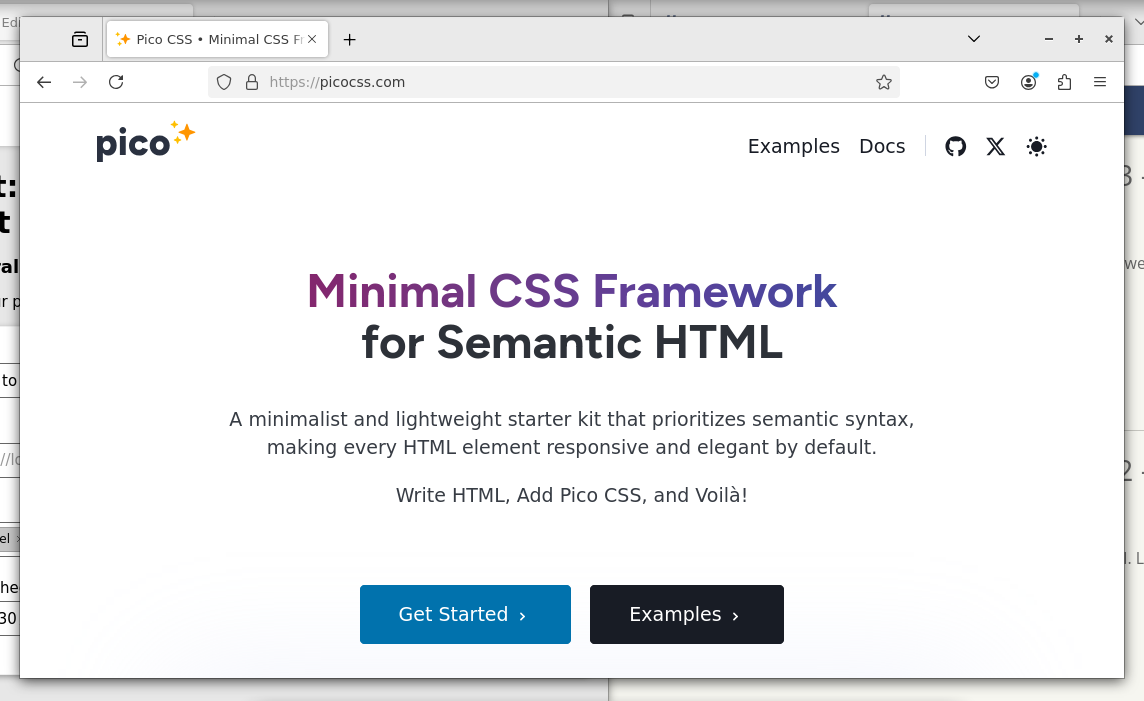
Instead, we are going to use PicoCSS. PicoCSS is a minimal style framework, meaning it applies styles as much as it can to plain old HTML elements. Its whole aim is to avoid cluttering markup with stylistic syntax, e.g. <button>click me</button> instead of something like <button class="button primary">click me</button>. Not only is this easy on the eyes, but it is good for things like accessibility and maintenance.
If you have been following along, we already installed Laravel, setup our database, created some controller routes, and protected our app with Laravel Fortify. Or, if you want to skip ahead, you can clone the git repo and get right to work:
git clone https://github.com/fstrube/blog-app.git
cd blog-app
git checkout part-4
npm install
composer install
composer run dev
Preparing for an overhaul
So, we'll be overhauling quite a bit of the frontend in this walkthrough. There are a few general housekeeping items we need to take care of. First, let's get rid of this Tailwind trash!
npm remove tailwindcss
Don't forget to remove the TailwindCSS plugin from your postcss config as well.
postcss.config.js
export default {
    plugins: {
        autoprefixer: {},
    },
};
Then, let's get rid of any views we don't need, like the default view that ships with Laravel.
rm resources/views/welcome.blade.php
Now, I want to tweak our routes a little bit, in preparation for our revitalized user interface.
routes/web.php
<?php

use Illuminate\Support\Facades\Route;

Route::get('/', [\App\Http\Controllers\PostController::class, 'index'])
    ->name('posts.index');

Route::resource('/posts', App\Http\Controllers\PostController::class)
    ->only('show');

Route::resource('/admin/posts', App\Http\Controllers\PostController::class)
    ->except('index', 'show')
    ->middleware('auth');

Route::get('/admin', App\Http\Controllers\Admin\HomeController::class)
    ->name('admin.home')
    ->middleware('auth');

Route::get('/admin/logout', [Laravel\Fortify\Http\Controllers\AuthenticatedSessionController::class, 'destroy']);
These are the changes that I made:
- Route
/to the PostController index and give it a name so we can reference it in our views - Update the posts resource route so we no longer include the index
- Added
authmiddleware to/adminroute
PicoCSS provides a Sass import, so I want to change my app.css to app.scss.
mv resources/css/ resources/scss
mv resources/scss/app.css resources/scss/app.scss
This requires a change to vite.config.js as well.
vite.config.js
import { defineConfig } from 'vite';
import laravel from 'laravel-vite-plugin';

export default defineConfig({
    plugins: [
        laravel({
            input: ['resources/scss/app.scss', 'resources/js/app.js'],
            refresh: true,
        }),
    ],
});
Now for our Blade views. I want to create a Blade layout that acts as a boilerplate for my views. The layout will have all the standard stuff that goes in the <head>, and then it will yield to the view when rendering the content.
resources/views/layouts/default.blade.php
<!DOCTYPE html>
<html lang="{{ str_replace('_', '-', app()->getLocale()) }}">
<head>
<meta charset="utf-8">
<meta name="viewport" content="width=device-width, initial-scale=1">
<title>Laravel</title>
<!-- Fonts -->
<link rel="preconnect" href="https://fonts.bunny.net">
<link href="https://fonts.bunny.net/css?family=figtree:400,500,600,700&display=swap" rel="stylesheet" />
<!-- Styles / Scripts -->
@vite(['resources/scss/app.scss', 'resources/js/app.js'])
</head>
<body>
<header>
<nav>
<ul>
<li>The Laravel Dude</li>
</ul>
<ul>
<li><a href="{{ route('posts.index') }}">Blog</a></li>
<li><a href="{{ route('admin.home') }}">Admin</a></li>
</ul>
</nav>
</header>
<main>
@yield('content')
</main>
<footer>
© Copyright {{ date('Y') }}, The Laravel Dude
</footer>
</body>
</html>
Our Blade views will extend the layout and have a "content" section, which will get inserted inside the <main> of our layout. Here's what that looks like for our index page.
resources/views/posts/index.blade.php
@extends('layouts.default')

@section('content')
    <div>
        @foreach($posts as $post)
        <h2><a href="{{ route('posts.show', $post) }}">{{ $post->title }}</a></h2>
        <p>{{ $post->excerpt }}</p>
        @endforeach
    </div>
@endsection
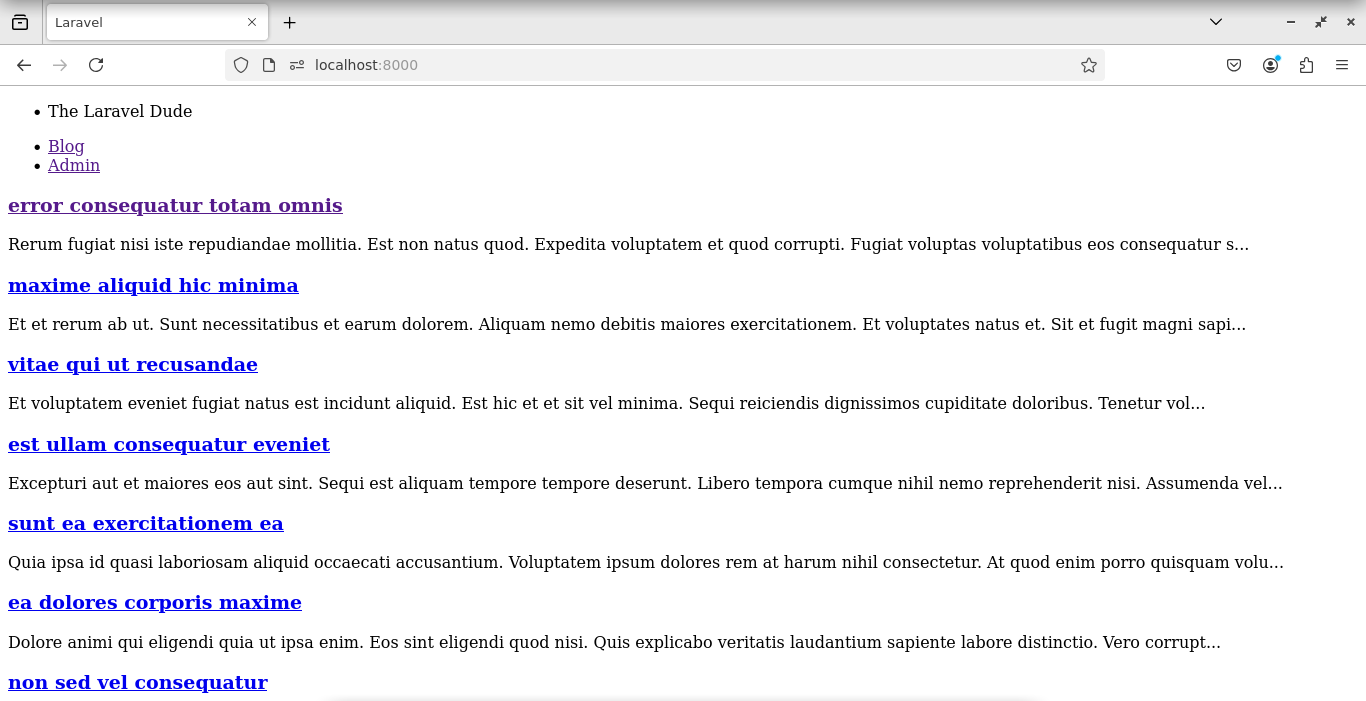
You can update the remaining views the same way; use the @extends('layouts.default') Blade directive to tell Laravel which layout we're using, and then wrap the content in a @section('content') directive.
When you're done, your blog should look like this.
Installing PicoCSS
With the aforementioned changes in place, we can now install PicoCSS and start styling our frontend.
npm install --save-dev @picocss/pico
Import the PicoCSS styles with the @use directive in Sass.
resources/scss/app.scss
@use '@picocss/pico/scss/pico';

body {
    font-family: Figtree, sans;
}

header,
main,
footer {
    @extend .container;
}
In our app.scss file, we are bringing in PicoCSS, setting the font, and extending the .container class for our <header>, <main>, and <footer> tags. That's one less class that will clutter our markup. Let's see what this gives us.
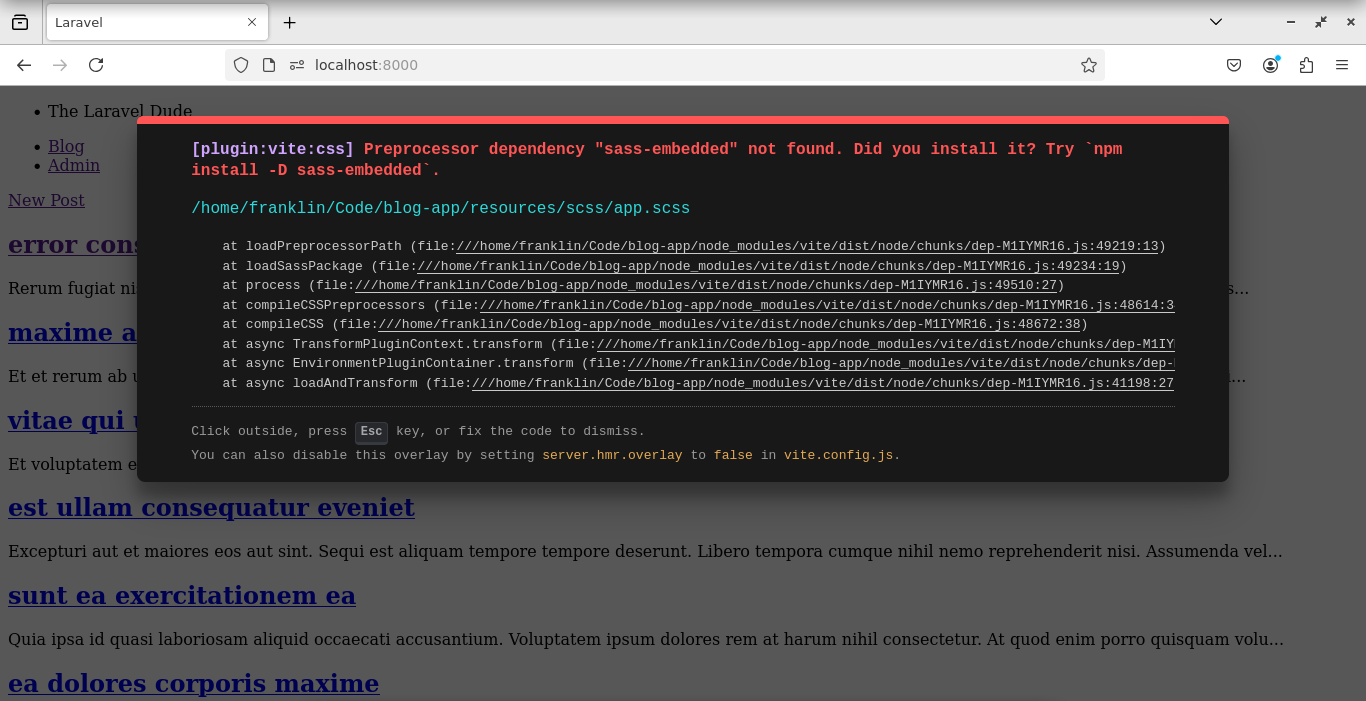
Uh oh! A Vite error popped up for me.
[plugin:vite:css] Preprocessor dependency "sass-embedded" not found. Did you install it? Try `npm install -D sass-embedded`.
This one is pretty obvious to fix. We just need to install sass-embedded so that Vite knows how to compile our Sass styles.
npm install --save-dev sass-embedded
Once you've installed the dependency and restarted Vite, you should see the following:
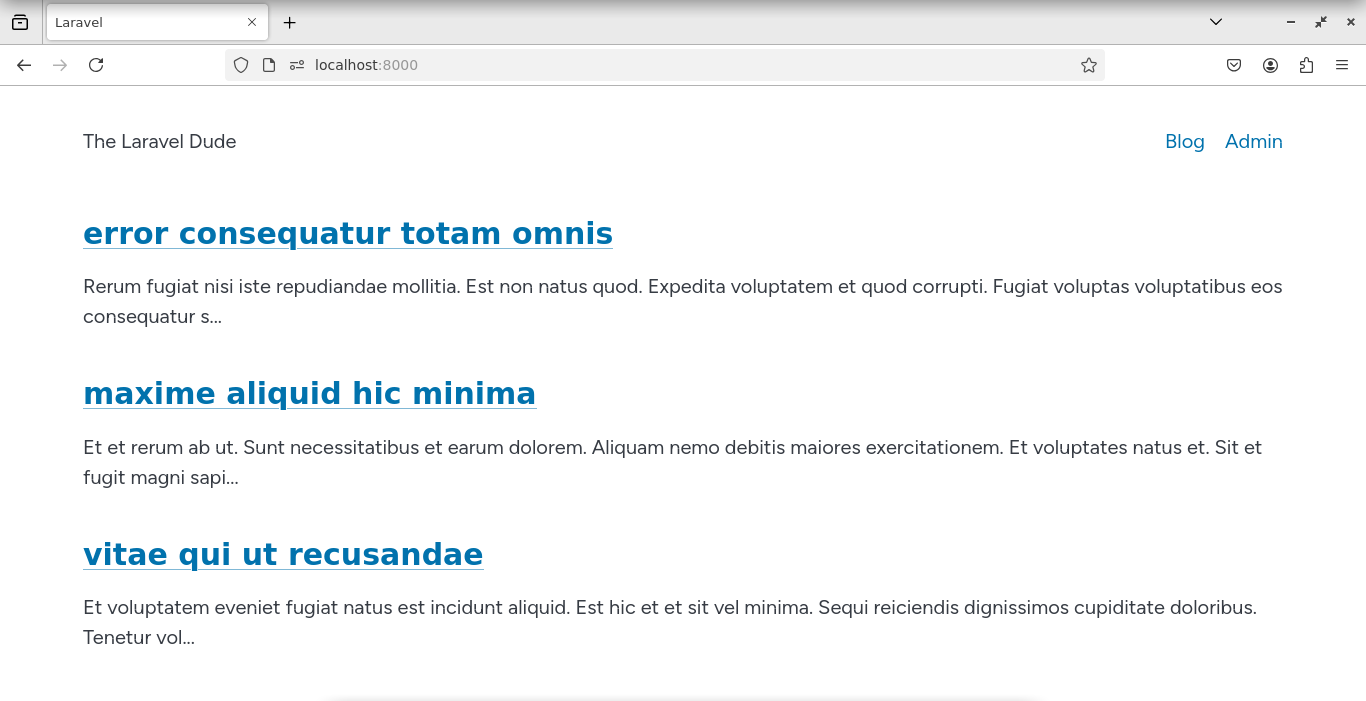
Ah, so much better! Let's continue adding styles to make our login forms and post pages look beautiful.
resources/scss/app.scss
@use '@picocss/pico/scss/pico';

body {
    font-family: Figtree, sans;
}

header,
main,
footer {
    @extend .container;
}

footer {
    text-align: center;
}

form {
    @extend article;

    margin: 0 auto;
    max-width: 768px;
    min-width: 400px;
    width: 50vw;
}

a[role=button] {
    @extend button;
}

.error {
    @extend article;

    background-color: #ff9999;
    border: solid 1px #ff3333;

    p {
        margin: 0;
    }
}
So what did we add here? Well, in a few places we are extending article, which is what PicoCSS uses as a card component. A card is just a box with rounded corners and a bit of a box-shadow. We also are extending button on <a> tags with role="button". And lastly, we styled our errors with a little bit of red. Here is what our login page looks like now.
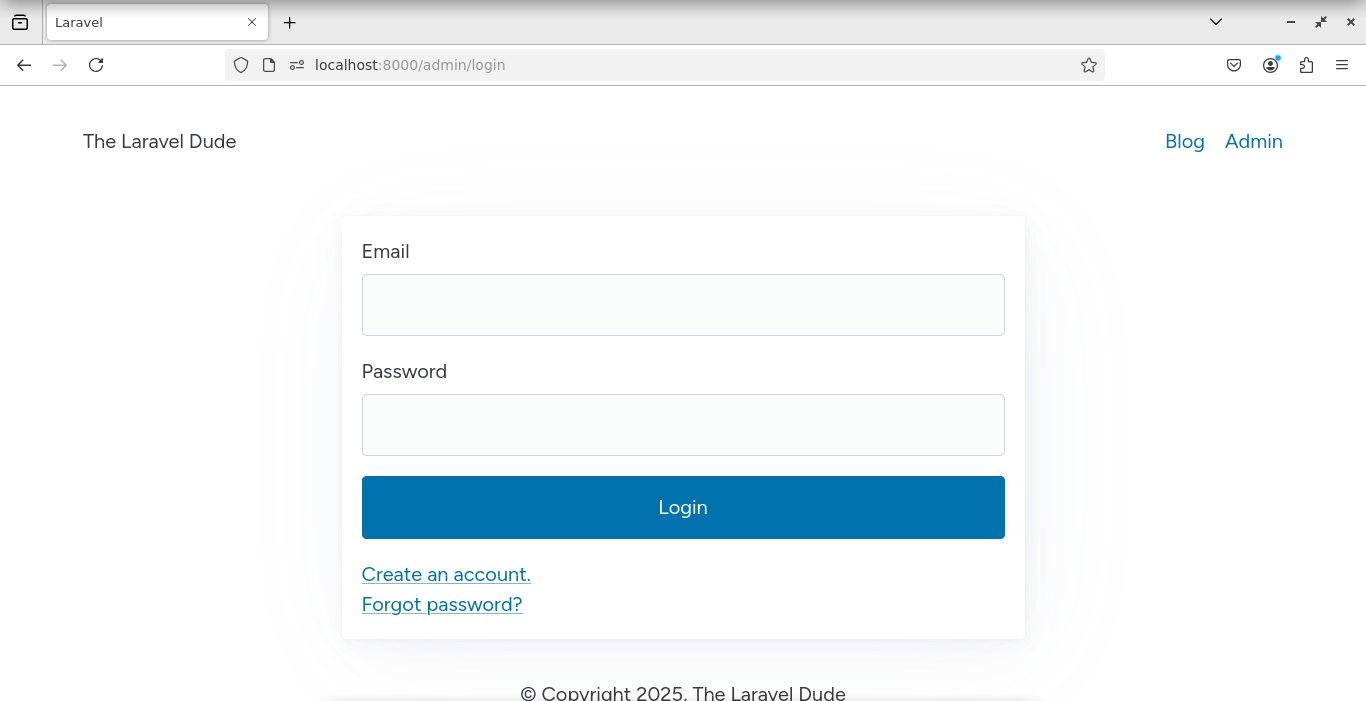
What a breath of fresh air!
Wrapping it up
What's great about PicoCSS is how clean our markup looks without adding a single CSS class. It's semantic markup at its finest.
This concludes the How to Build a Blog in Laravel series. I hope you enjoyed the walkthroughs as much as I enjoyed writing them. If you have any feedback or suggestions, leave a note in the comments.