How to Build a Blog with Laravel - Part 3 - Controllers and Routing
Now that we've got our project set up and our database prepared, we can start setting up the frontend routes to our Laravel blog.
If you missed out on part one and two, you can skip ahead by cloning the git repo:
git clone https://github.com/fstrube/blog-app.git
cd blog-app
git checkout part-2
npm install
composer install
composer run dev
We're going to start with some simple controller routes and forms, and we will keep the user interface basic for now.
The posts controller
As we did before, we are going to use artisan to make a few PHP classes. First up is a resource controller for our posts.
php artisan make:controller --model=App\\Models\\Post --requests PostController
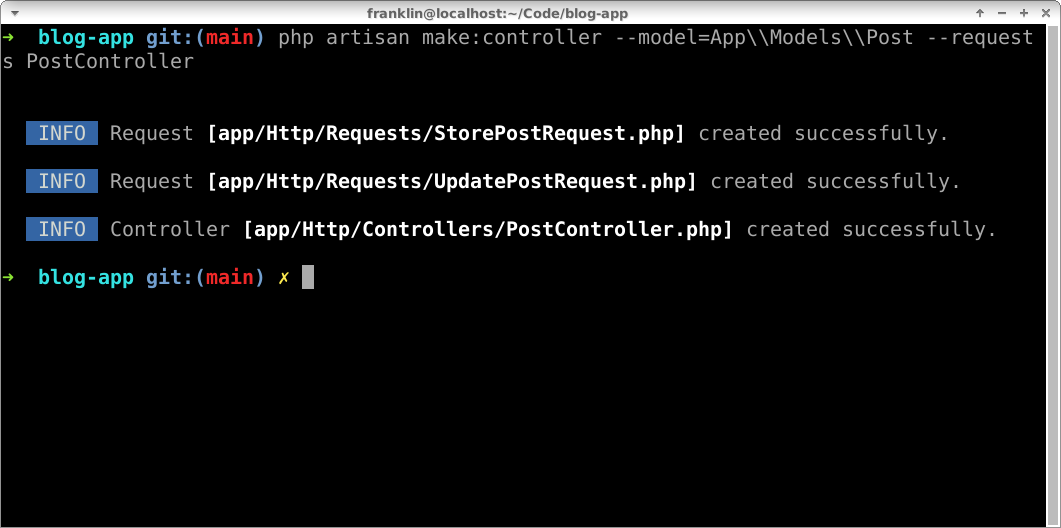
The result of the previous command is the creation of a controller class and two request classes. Requests let us validate the forms that will be submitted when creating and editing our posts.
Let's get this controller hooked up in our routes file.
routes/web.php
<?php

use Illuminate\Support\Facades\Route;

Route::get('/', function () {
    return view('welcome');
});

Route::resource('/posts', App\Http\Controllers\PostController::class);
We can see all of the routes defined in our app with the handy route:list command:
php artisan route:list
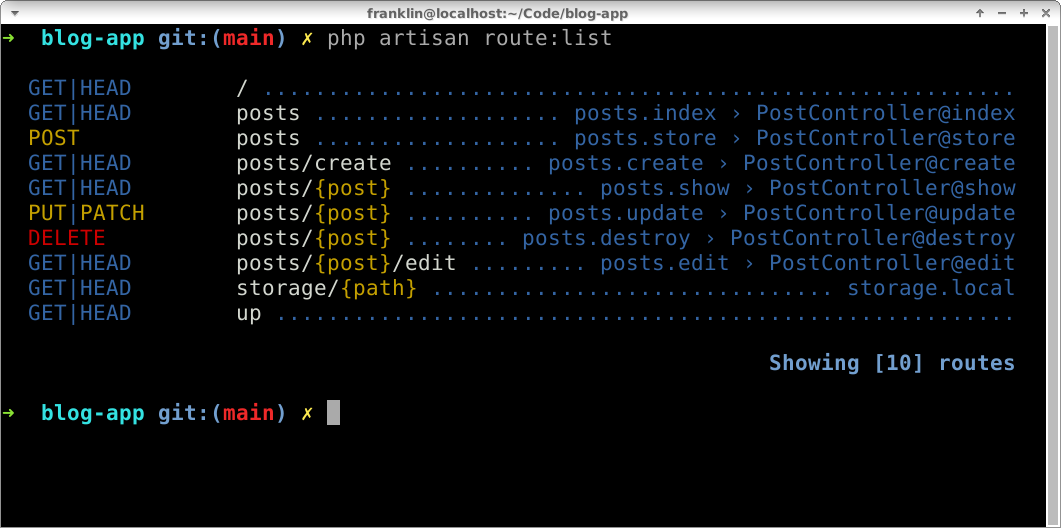
You can see that the Route::resource() call is creating many routes, all pointing towards our PostController.
Make sure your app is being served with composer run dev and navigate to http://localhost:8000/posts. You should see a blank white page, no errors. Now we are ready to start programming our controller.
This is the starting point that our artisan command provides.
app/Http/Controllers/PostController.php
<?php

namespace App\Http\Controllers;

use App\Http\Requests\StorePostRequest;
use App\Http\Requests\UpdatePostRequest;
use App\Models\Post;

class PostController extends Controller
{
    /**
     * Display a listing of the resource.
     */
    public function index()
    {
        //
    }

    /**
     * Show the form for creating a new resource.
     */
    public function create()
    {
        //
    }

    /**
     * Store a newly created resource in storage.
     */
    public function store(StorePostRequest $request)
    {
        //
    }

    /**
     * Display the specified resource.
     */
    public function show(Post $post)
    {
        //
    }

    /**
     * Show the form for editing the specified resource.
     */
    public function edit(Post $post)
    {
        //
    }

    /**
     * Update the specified resource in storage.
     */
    public function update(UpdatePostRequest $request, Post $post)
    {
        //
    }

    /**
     * Remove the specified resource from storage.
     */
    public function destroy(Post $post)
    {
        //
    }
}
We'll go through and implement each function. First up is the index() function. This page will list all of our posts. Make sure you created some with your model factory in our last session.
    /**
     * Display a listing of the resource.
     */
    public function index()
    {
        return view('posts.index', [
            'posts' => Post::all(),
        ]);
    }
The function returns a view, which is a Laravel Blade template. We have to create this with artisan:
php artisan make:view posts.index
The view is where our HTML goes. The data that we pass to the view() function is accessible as PHP variables in our Blade file. Let's loop over our $posts variable and print their titles.
resources/views/posts/index.blade.php
<div>
    <nav>
        <a href="{{ route('posts.create') }}">New Post</a>
    </nav>
    @foreach($posts as $post)
    <h2><a href="{{ route('posts.show', $post) }}">{{ $post->title }}</a></h2>
    <p>{{ $post->excerpt }}</p>
    @endforeach
</div>
This view is using the route() helper function, which makes it easy to hook up links to your routes that are defined in routes/web.php. Without it, you would manually type and concatentate URL strings, with no way to easily update them in the future.
Let's go to http://localhost:8000/posts again, and this time we should see a list of links to our posts.
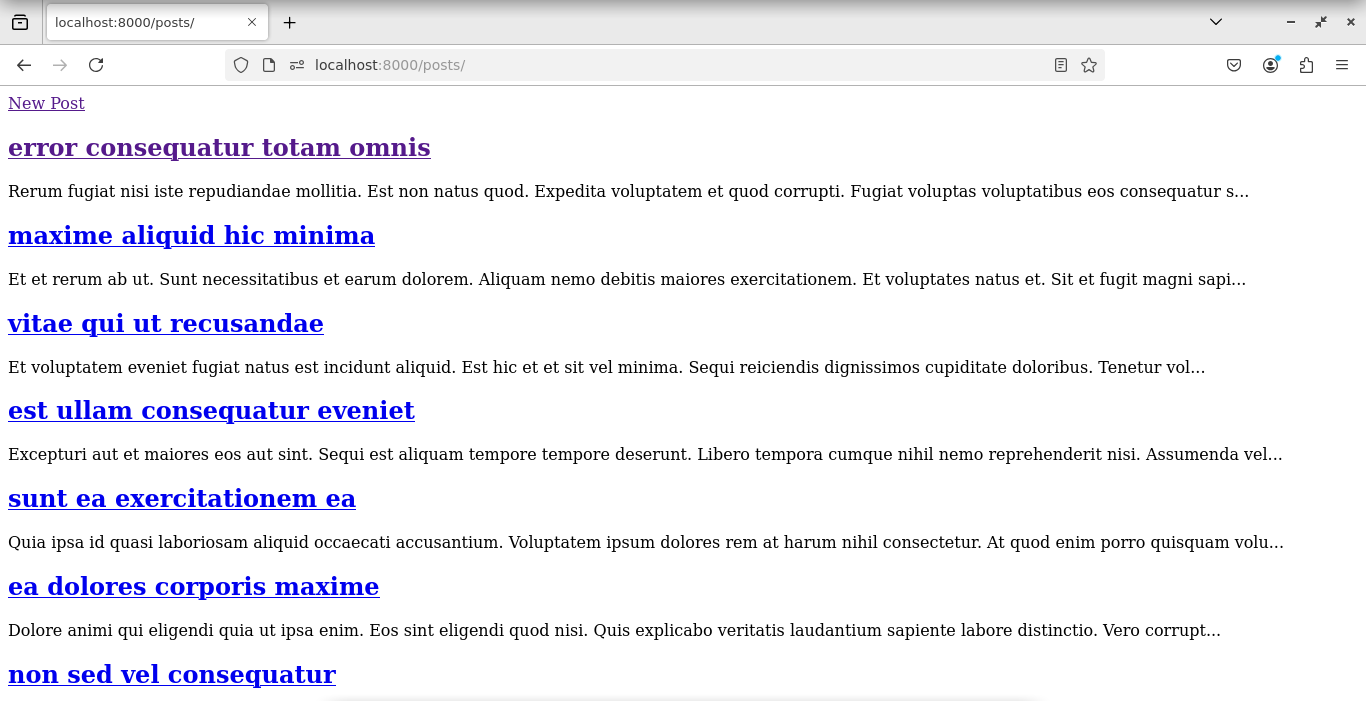
If all you see is the "New Post" link, you may not have any posts in your database. In the following steps we will program all the functionality for creating, editing, and viewing posts.
app/Http/Controllers/PostController.php
<?php

namespace App\Http\Controllers;

use App\Http\Requests\StorePostRequest;
use App\Http\Requests\UpdatePostRequest;
use App\Models\Post;

class PostController extends Controller
{
    /**
     * Display a listing of the resource.
     */
    public function index()
    {
        return view('posts.index', [
            'posts' => Post::all(),
        ]);
    }

    /**
     * Show the form for creating a new resource.
     */
    public function create()
    {
        return view('posts.edit', [
            'post' => new Post(),
        ]);
    }

    /**
     * Store a newly created resource in storage.
     */
    public function store(StorePostRequest $request)
    {
        $post = Post::create($request->safe()->all());

        return redirect()->route('posts.edit', $post);
    }

    /**
     * Display the specified resource.
     */
    public function show(Post $post)
    {
        return view('posts.show', [
            'post' => $post,
        ]);
    }

    /**
     * Show the form for editing the specified resource.
     */
    public function edit(Post $post)
    {
        return view('posts.edit', [
            'post' => $post,
        ]);
    }

    /**
     * Update the specified resource in storage.
     */
    public function update(UpdatePostRequest $request, Post $post)
    {
        $post->update($request->safe()->all());

        return back();
    }

    /**
     * Remove the specified resource from storage.
     */
    public function destroy(Post $post)
    {
        $post->delete();

        return redirect()->route('posts.index');
    }
}
php artisan make:view posts.show

resources/views/posts/show.blade.php
<article>
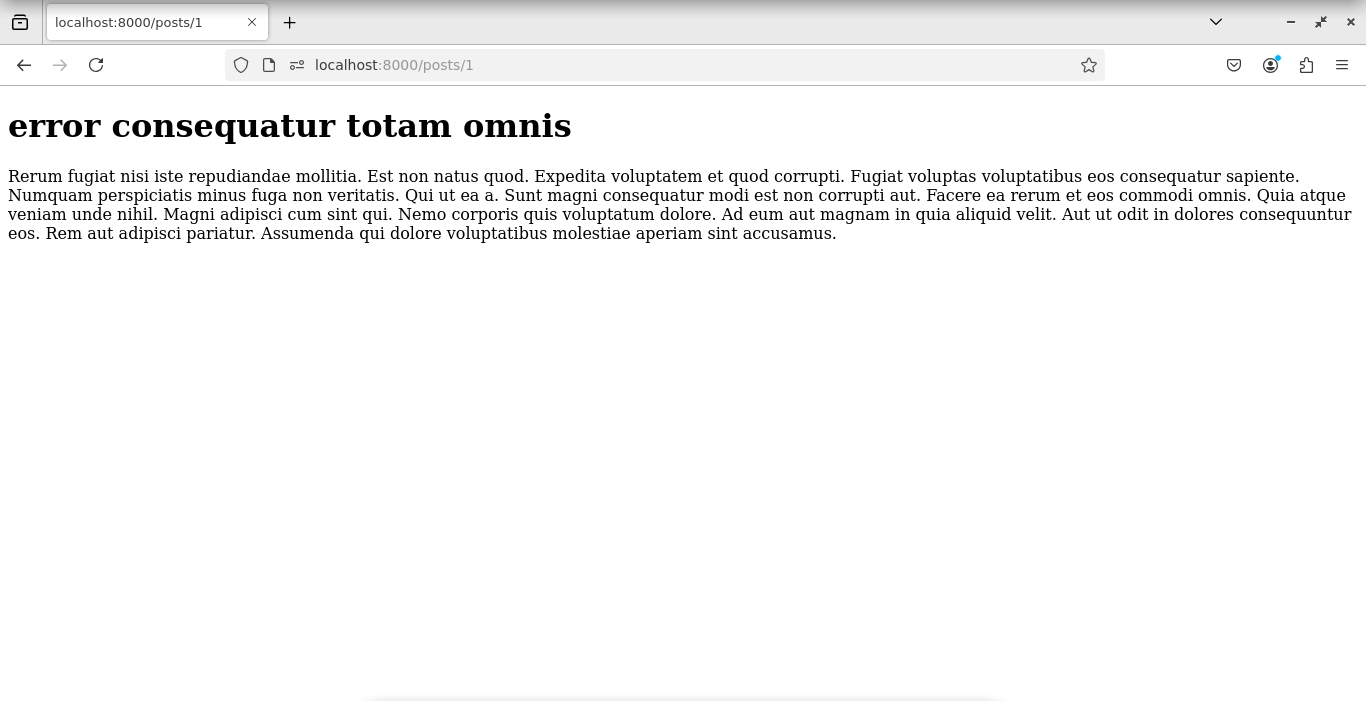
<h1>{{ $post->title }}</h1>
{{ new Illuminate\Support\HtmlString($post->content) }}
</article>
Our route for posts.show will simply output the title and the post content.
php artisan make:view posts.edit
resources/views/posts/edit.blade.php
<form action="{{ $post->exists ? route('posts.update', $post) : route('posts.store') }}" method="POST">
    @csrf
    @method($post->exists ? 'PUT' : 'POST')
    <div>
        <label for="title">Title</label>
        <input id="title" name="title" value="{{ old('title', $post->title) }}">
    </div>
    <div>
        <label for="slug">URL</label>
        <input id="slug" name="slug" value="{{ old('slug', $post->slug) }}">
    </div>
    <div>
        <label for="content">Content</label>
        <textarea name="content">{{ old('content', $post->content) }}</textarea>
    </div>
    <input type="submit" value="Save">
    @foreach ($errors->all() as $error)
    <div class="error">
        <p>{{ $error }}</p>
    </div>
    @endforeach
</form>
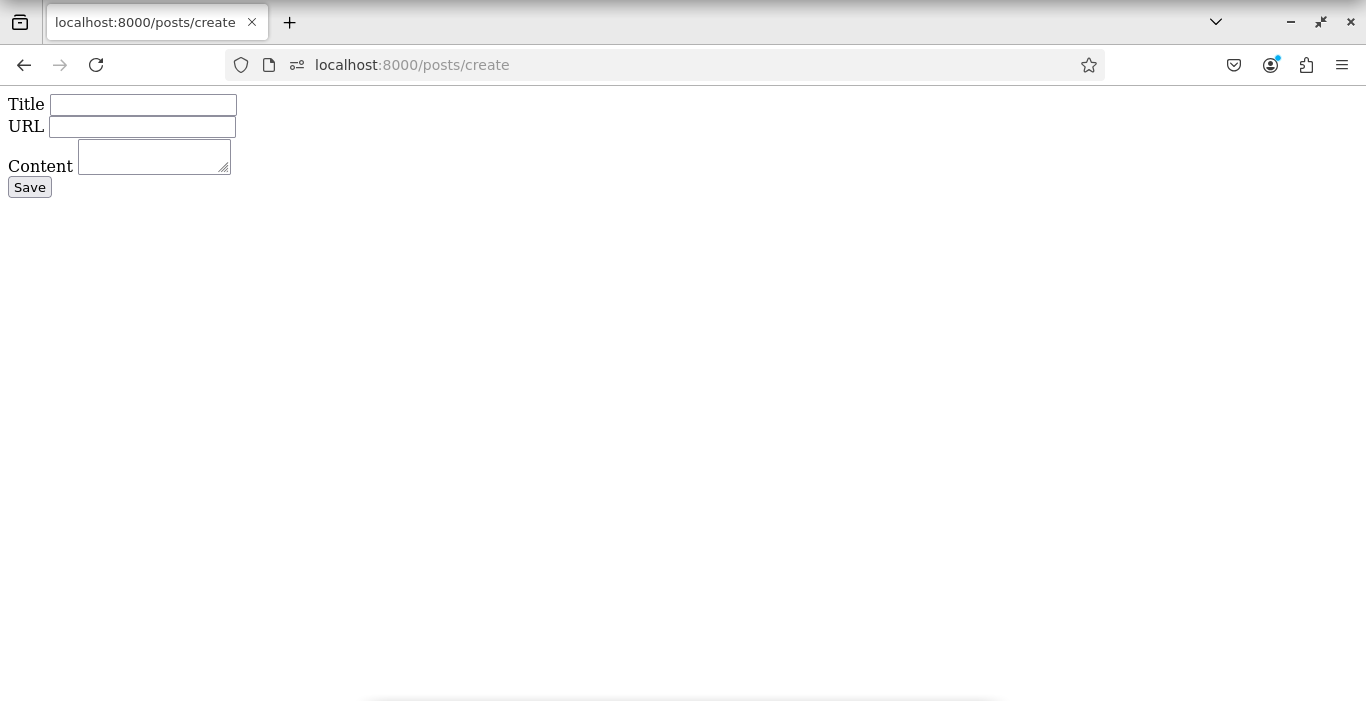
We're doing a couple things here. First, we're making the Blade view dual-purpose; it can work for creating new posts OR for editing existing posts. Go ahead and click on the New Post link. You should see the form for creating a new post.
Try to save a post and see what happens...You should get a "403 Unauthorized" page.
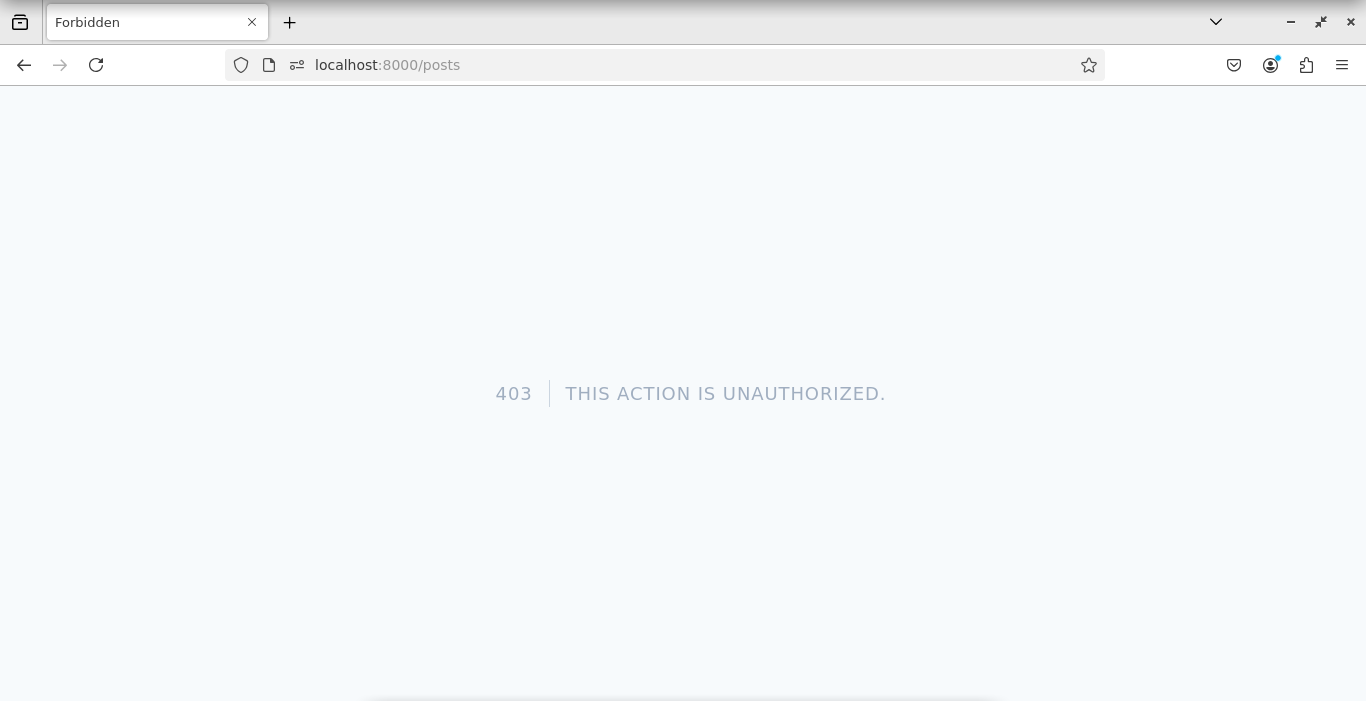
Remember the --requests parameter that we passed to php artisan make:controller? That created two PHP classes that will authorize and validate our form request prior to creating any models permanently. Let's get those squared away.
app/Http/Requests/StorePostRequest.php
<?php

namespace App\Http\Requests;

use Illuminate\Foundation\Http\FormRequest;

class StorePostRequest extends FormRequest
{
    /**
     * Determine if the user is authorized to make this request.
     */
    public function authorize(): bool
    {
        return true;
    }

    /**
     * Get the validation rules that apply to the request.
     *
     * @return array<string, \Illuminate\Contracts\Validation\ValidationRule|array<mixed>|string>
     */
    public function rules(): array
    {
        return [
            'title' => 'required',
            'content' => 'required',
            'slug' => 'required|unique:posts,slug',
        ];
    }
}
Make sure to return true; in the authorize() function, otherwise you will continue to get a 403 response. Now lets resubmit our form and see what we get. Uh oh, I got an error.
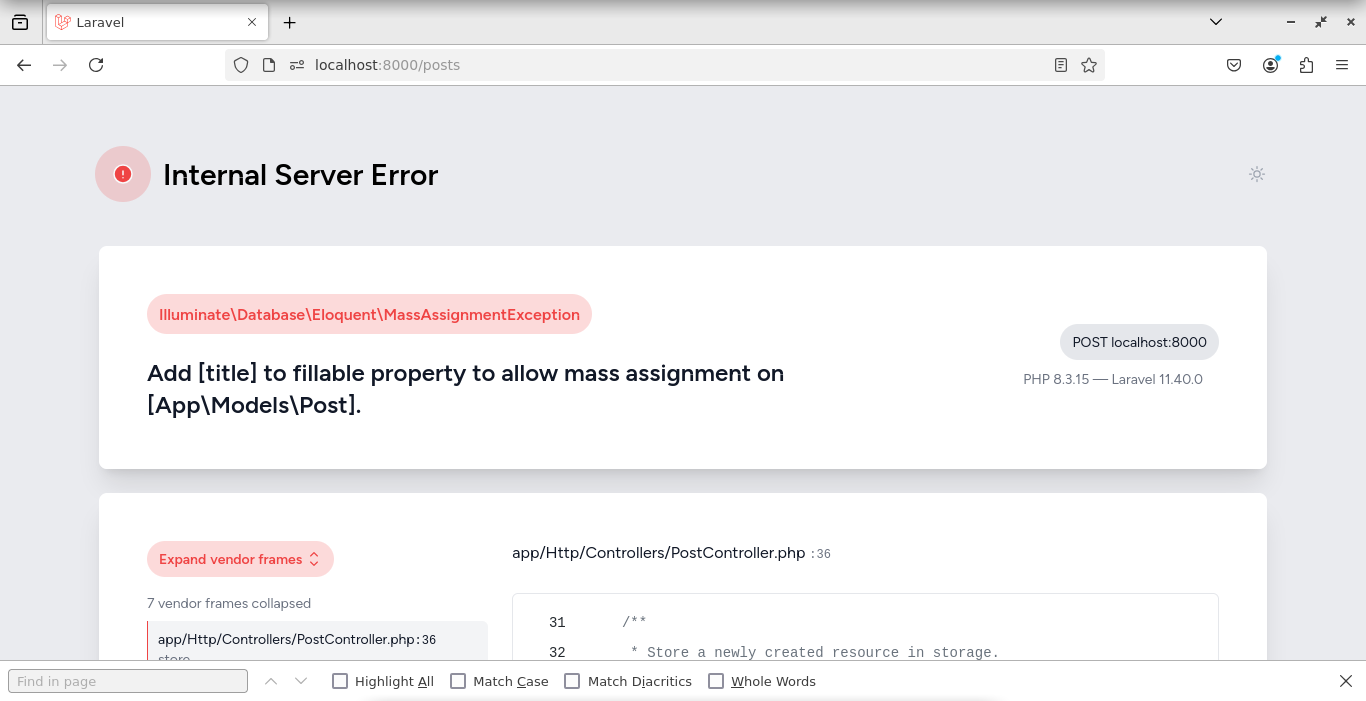
Add [title] to fillable property to allow mass assignment on [App\Models\Post]
This error means we are passing some attributes to Post::create() that aren't allowed. In our model class we need to declare which attributes can be "filled" when creating a model.
app/Models/Post.php
<?php

namespace App\Models;

use Illuminate\Database\Eloquent\Factories\HasFactory;
use Illuminate\Database\Eloquent\Model;

class Post extends Model
{
    /** @use HasFactory<\Database\Factories\PostFactory> */
    use HasFactory;

    protected $fillable = [
        'content',
        'slug',
        'title',
    ];

    public function topics()
    {
        return $this->belongsToMany(Topic::class);
    }
}
Resubmit the form, and voila! Our post is created, and we are redirected to our new post's "edit" page.
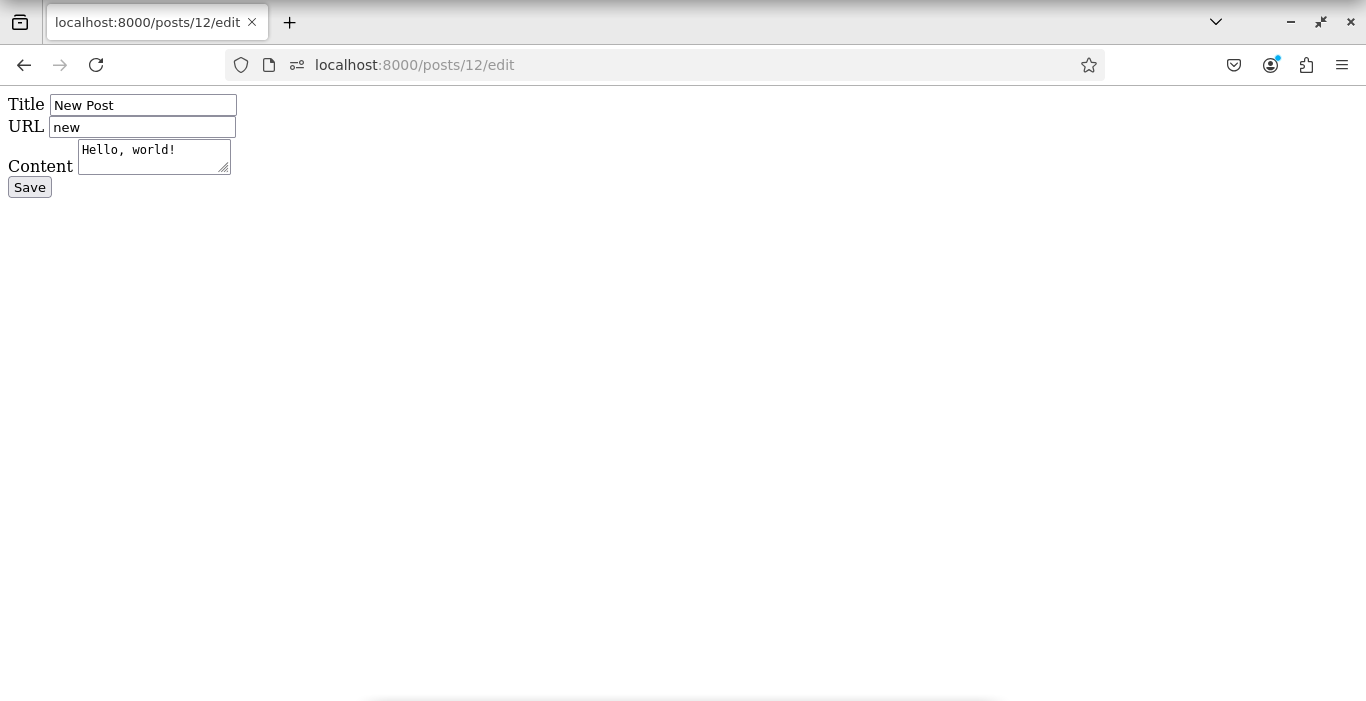
What happens if you try to save the post? I get another 403 eror, because we haven't set up the UpdatePostRequest yet. Let's do it now.
app/Http/Requests/UpdatePostRequest.php
<?php

namespace App\Http\Requests;

use App\Models\Post;
use Illuminate\Foundation\Http\FormRequest;

class UpdatePostRequest extends FormRequest
{
    /**
     * Determine if the user is authorized to make this request.
     */
    public function authorize(): bool
    {
        return true;
    }

    /**
     * Get the validation rules that apply to the request.
     *
     * @return array<string, \Illuminate\Contracts\Validation\ValidationRule|array<mixed>|string>
     */
    public function rules(): array
    {
        return [
            'title' => 'required',
            'content' => 'required',
            'slug' => 'required|unique:posts,slug,' . $this->post->id,
        ];
    }
}
We now have a semi-functional blogging app. This is basic CRUD, people! Try creating posts. See what happens if you violate the validation rules. Do you get the appropriate error messages for non-unique slugs and missing titles?
Wrapping up and next steps
Of course, make sure you version-control.
git add .
git commit -m 'controllers and routing'
In the next part of this series, I will show you how to introduce Laravel Fortify in order to protect our blog with a layer of authentication.