Installing MeeGo on an EeePC 900
I have heard about MeeGo before, but haven’t looked into the project much until now. As it turns out, MeeGo is a linux-based distribution which is aimed at handhelds, connected TVs, in-vehicle infotainment systems, and netbooks/tablets. It was only announced by Nokia and Intel in 2010 in an effort to merge the Maemo and Moblin platforms, so it is still relatively young. According to the hardware requirements, the MeeGo OS is only supported on newer Intel hardware (basically anything with an Atom chipset).
Despite this fact, I decided to attempt an install on my Asus EeePC 900, even though it has a 900MHz Celeron M processor (not an Atom). I was able to boot from a live CD and eventually install the OS. But, as expected I ran into a few snags along the way (and still, not everything works).
Installation Media
For the installation, I followed the instructions for creating a bootable USB drive, only I used an SD card instead. It went something like this:
- Reformat SD card with ext3 filestystem, then unmount it
- Download MeeGo 1.1 for Netbooks http://meego.com/downloads/releases/netbook
- Download the Image Writer
- Run: sudo image-writer
- Boot from the SD card
Note: on the Asus EeePC 900, pressing the ESC key at startup will display the boot device selector.
MeeGo Live
The MeeGo OS loaded alright. I was able to browse around the interface, open the file browser and connect to wireless (only after I realized that the hardware radio was turned off on boot). But, that was about it. Most other apps, like Chromium, would crash when I attempted to load them, probably due to the SSSE3 instructions in the code.
MeeGo Installation
Unfortunately, during the MeeGo installation, my mouse was not fully functional, forcing me to navigate through the installation using my keyboard. This was a bit of a pain, albeit feasible. In order to get MeeGo operational, I had to format my drive with ext3 (not the recommended btrfs).

Proceed past the initial screen

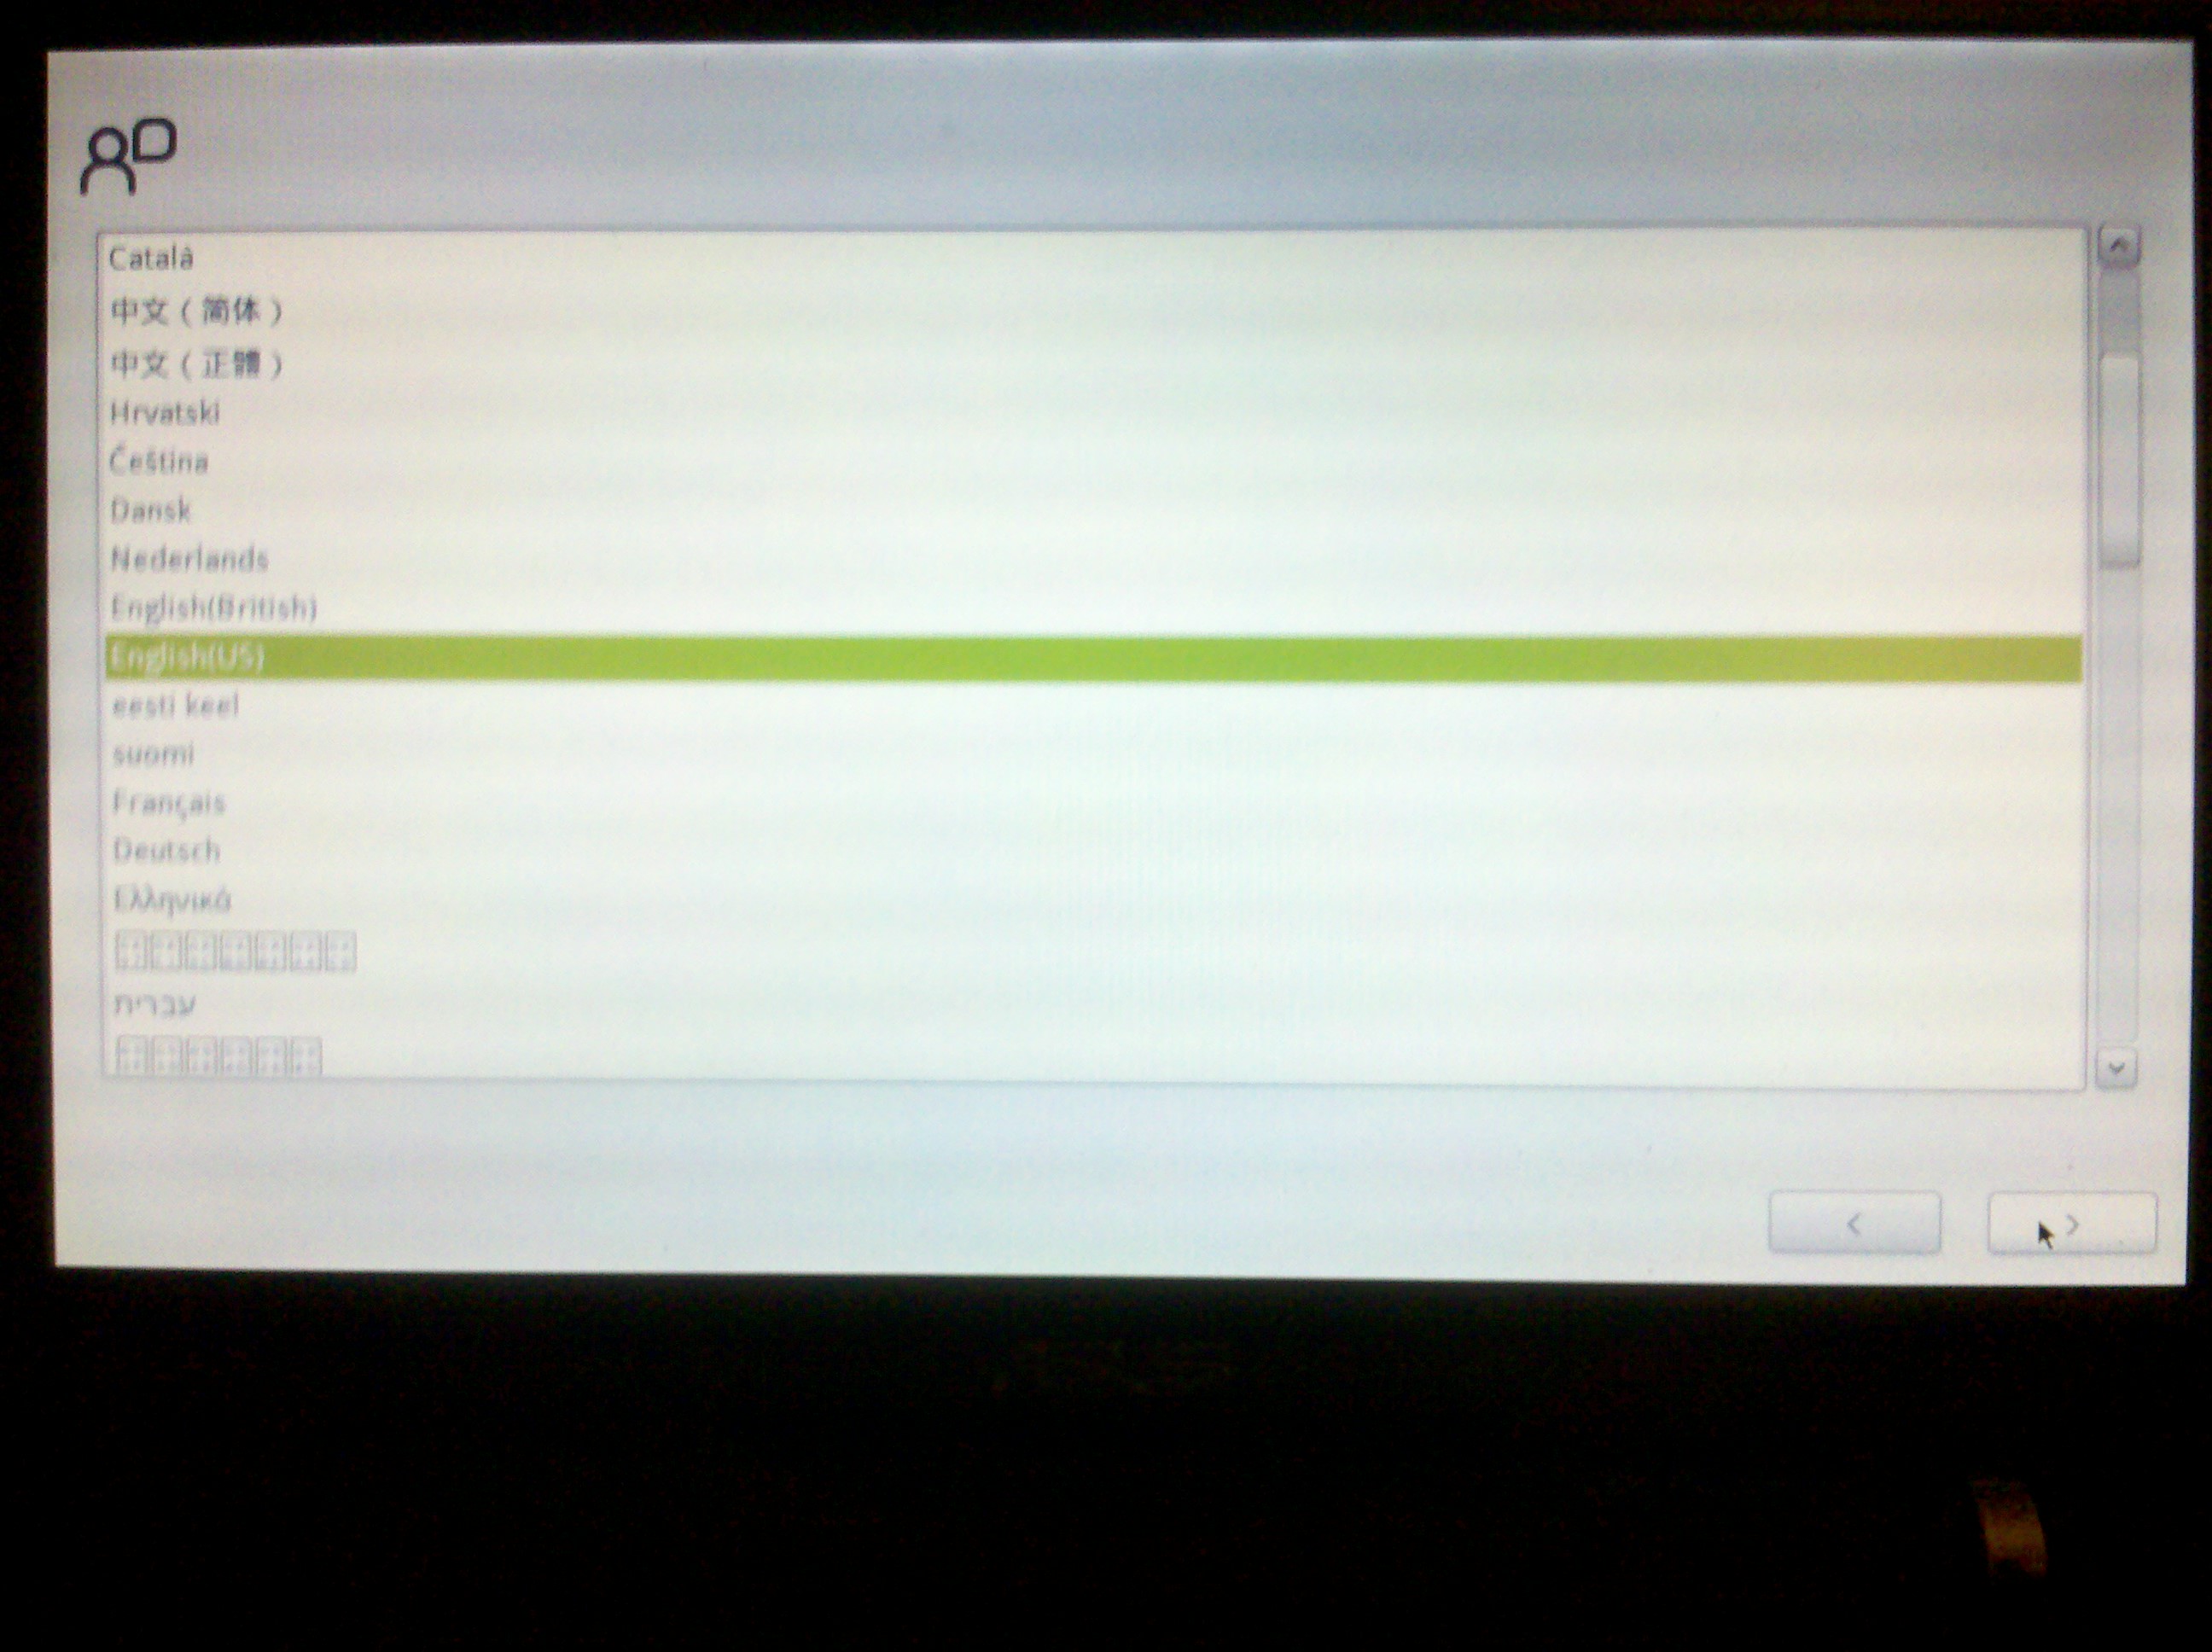
Select your language of choice

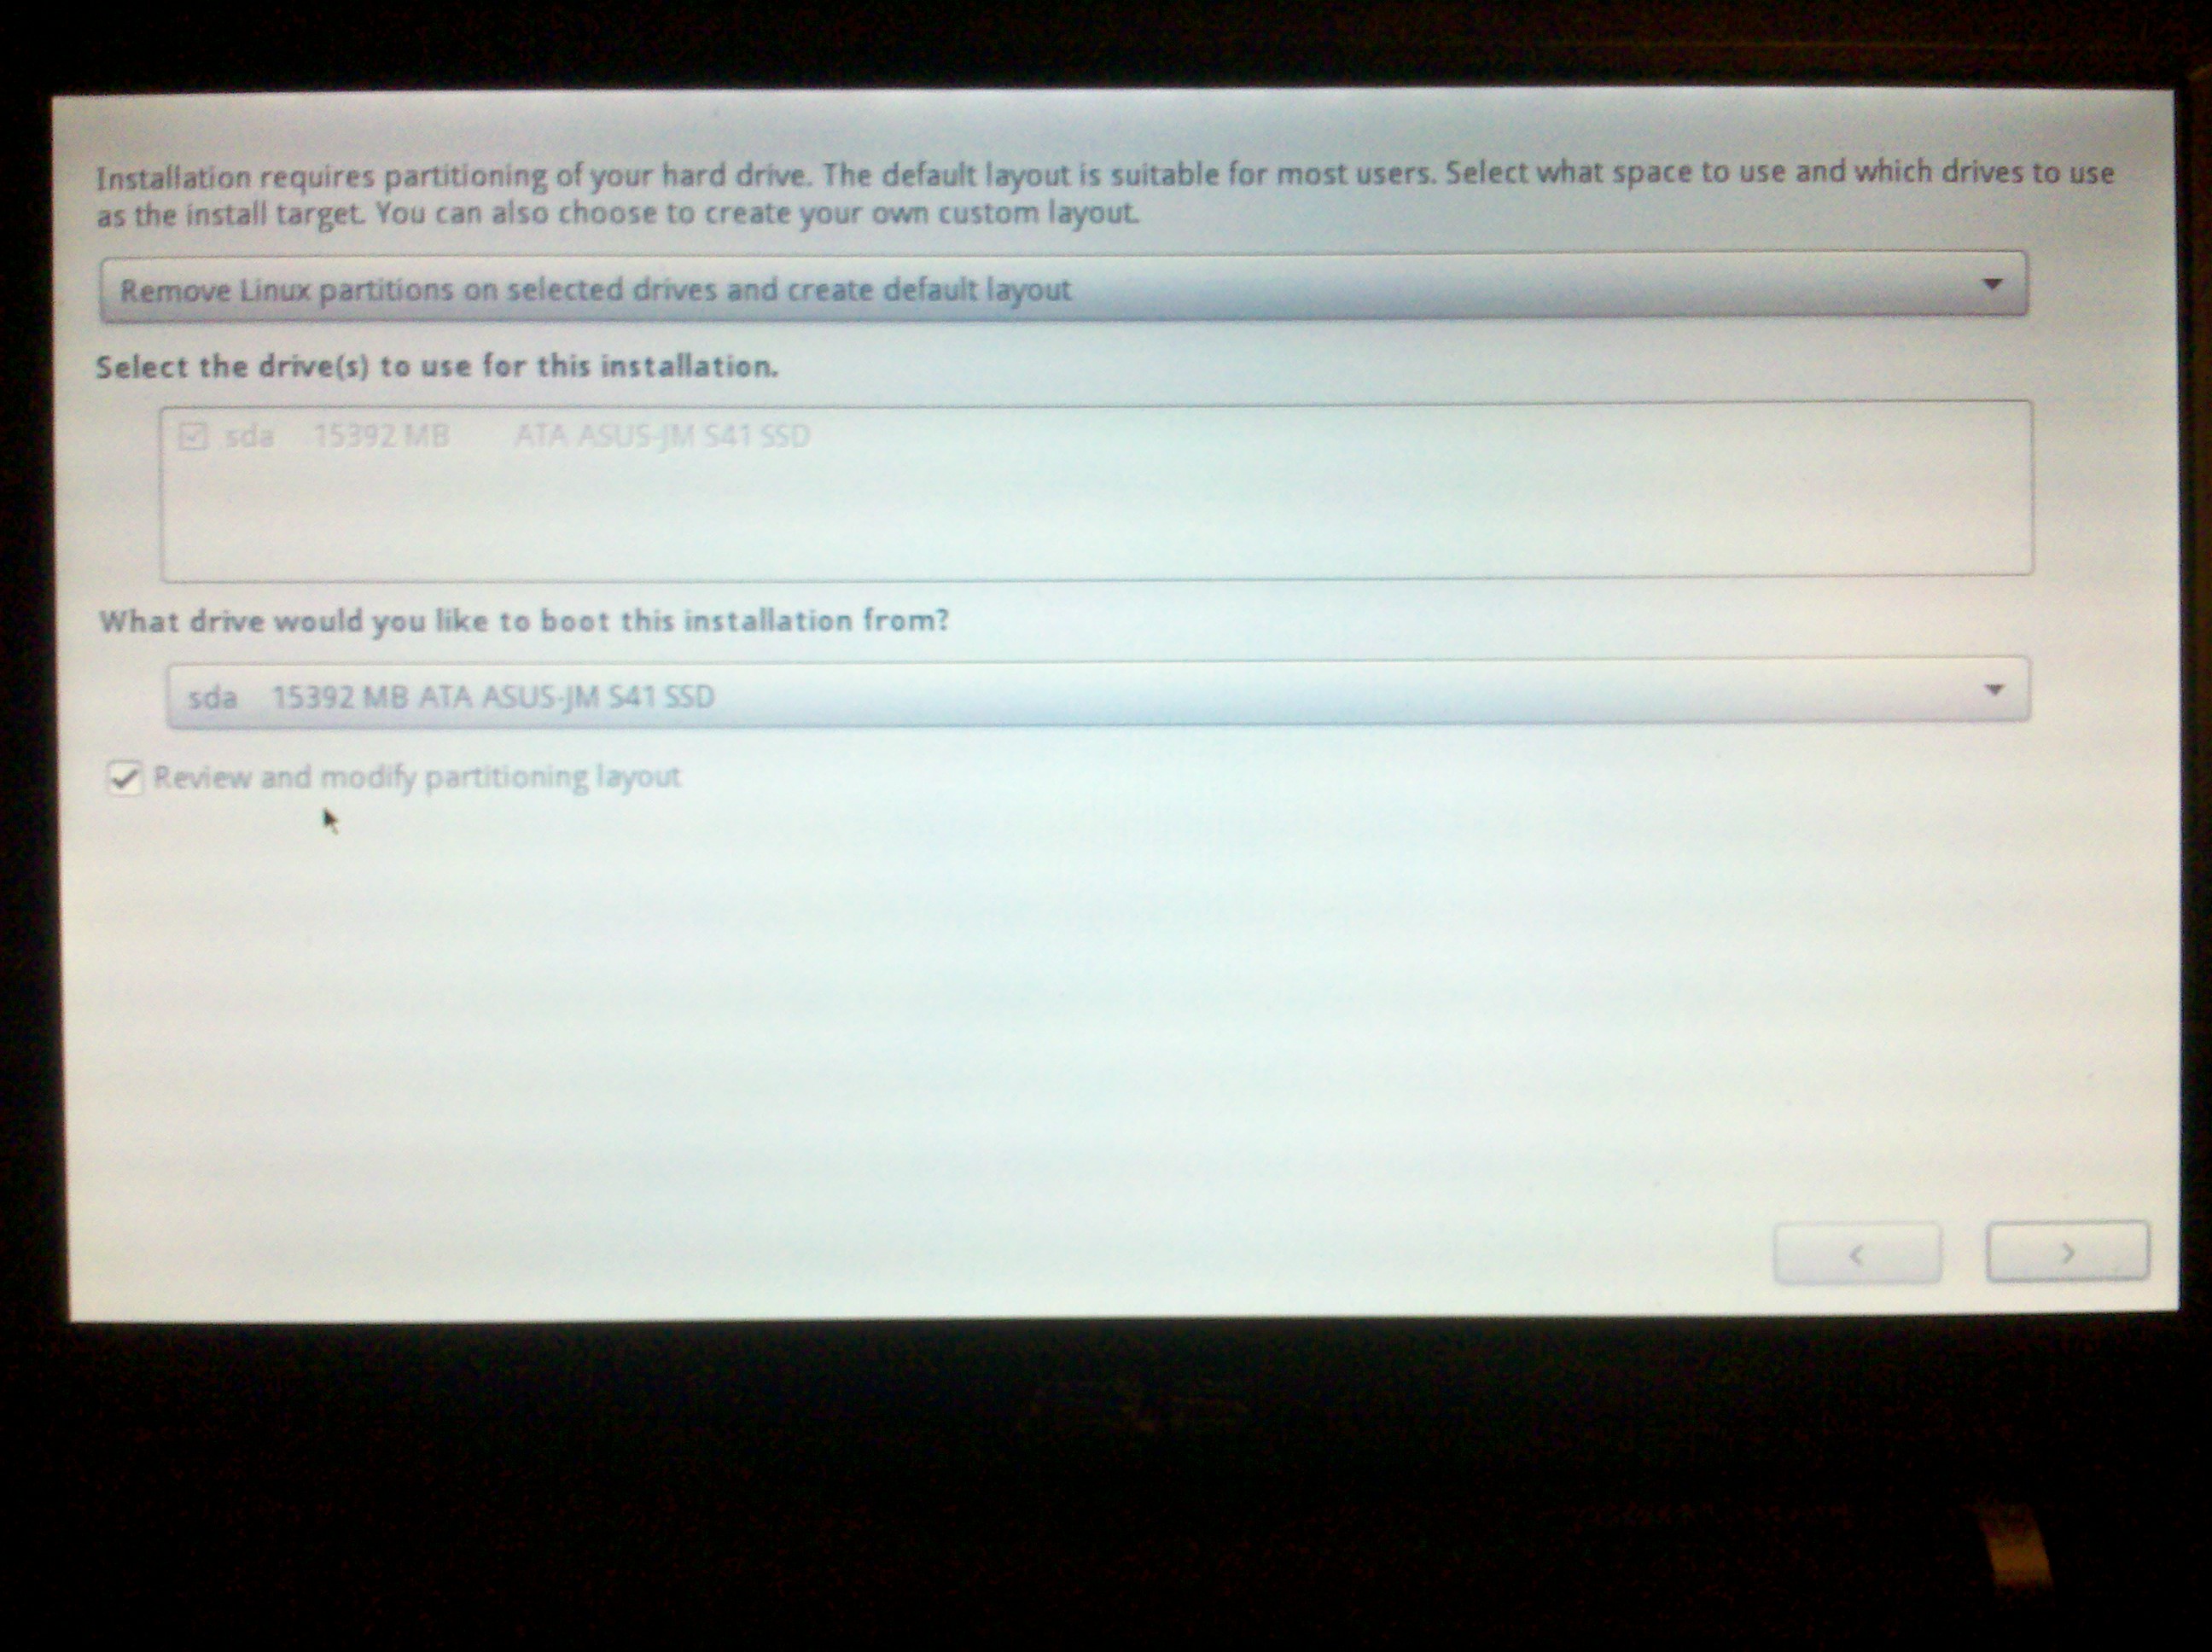
Make sure you select "Review and modify partitioning layout"

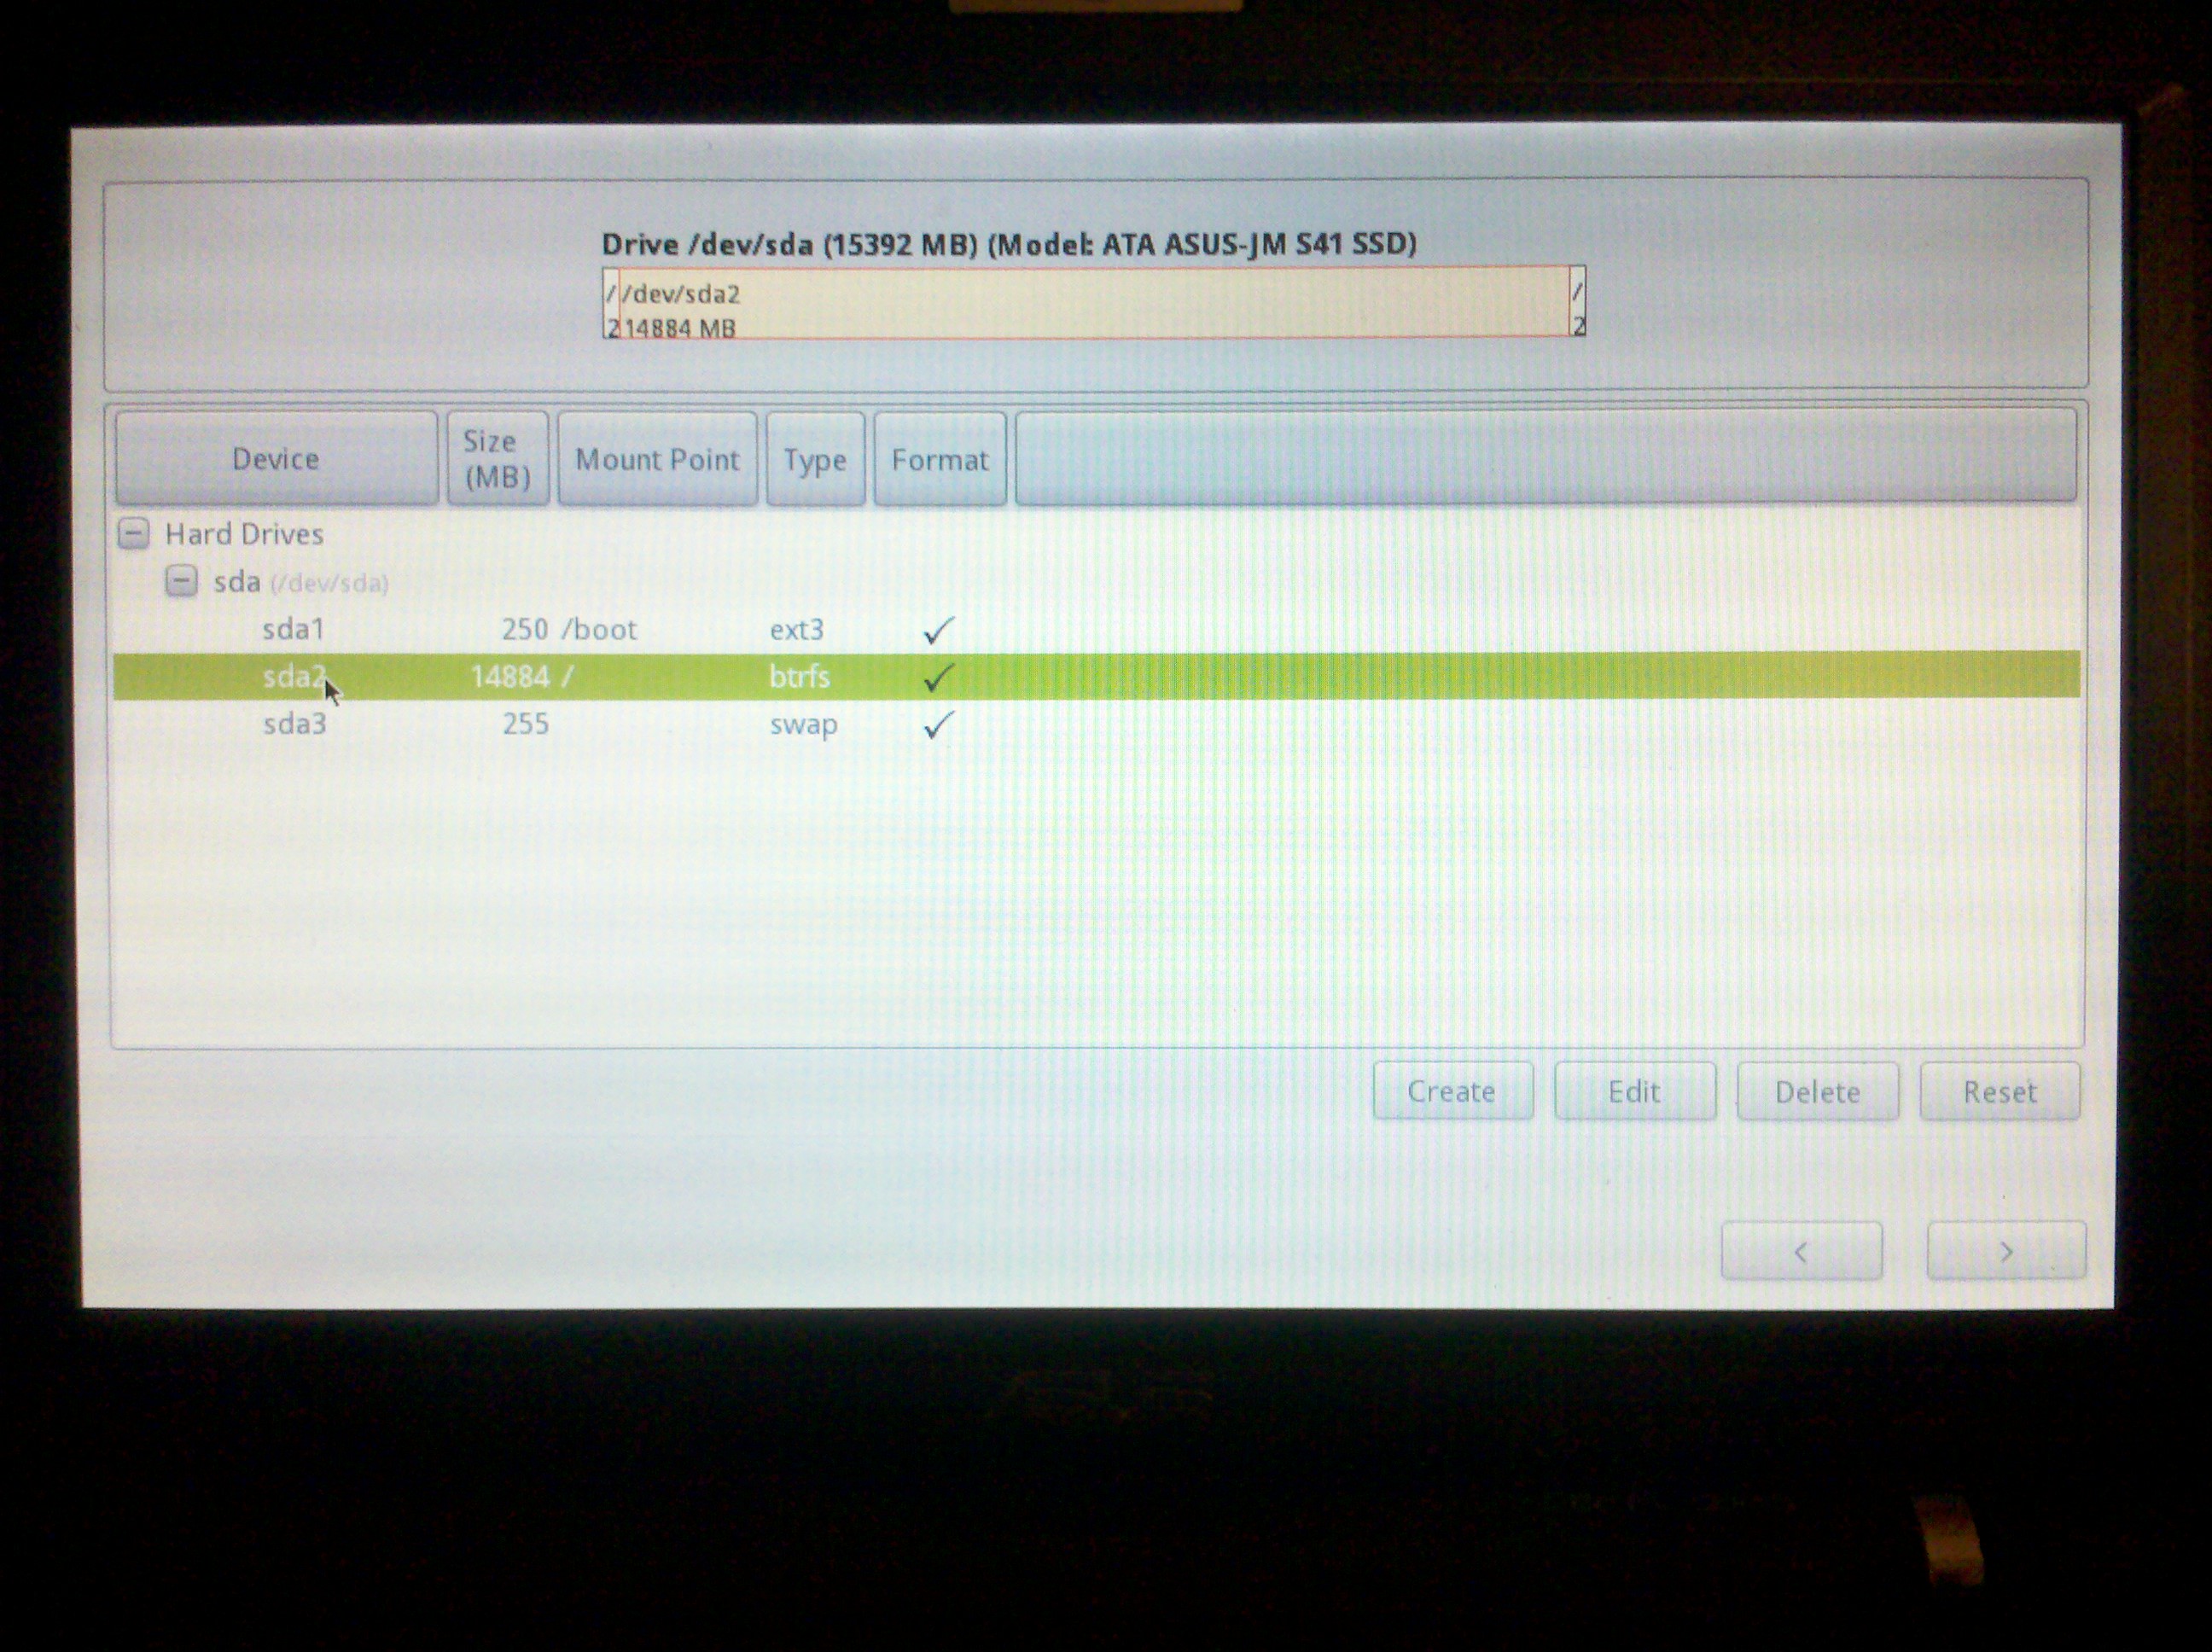
Select your root partition and click "Edit"

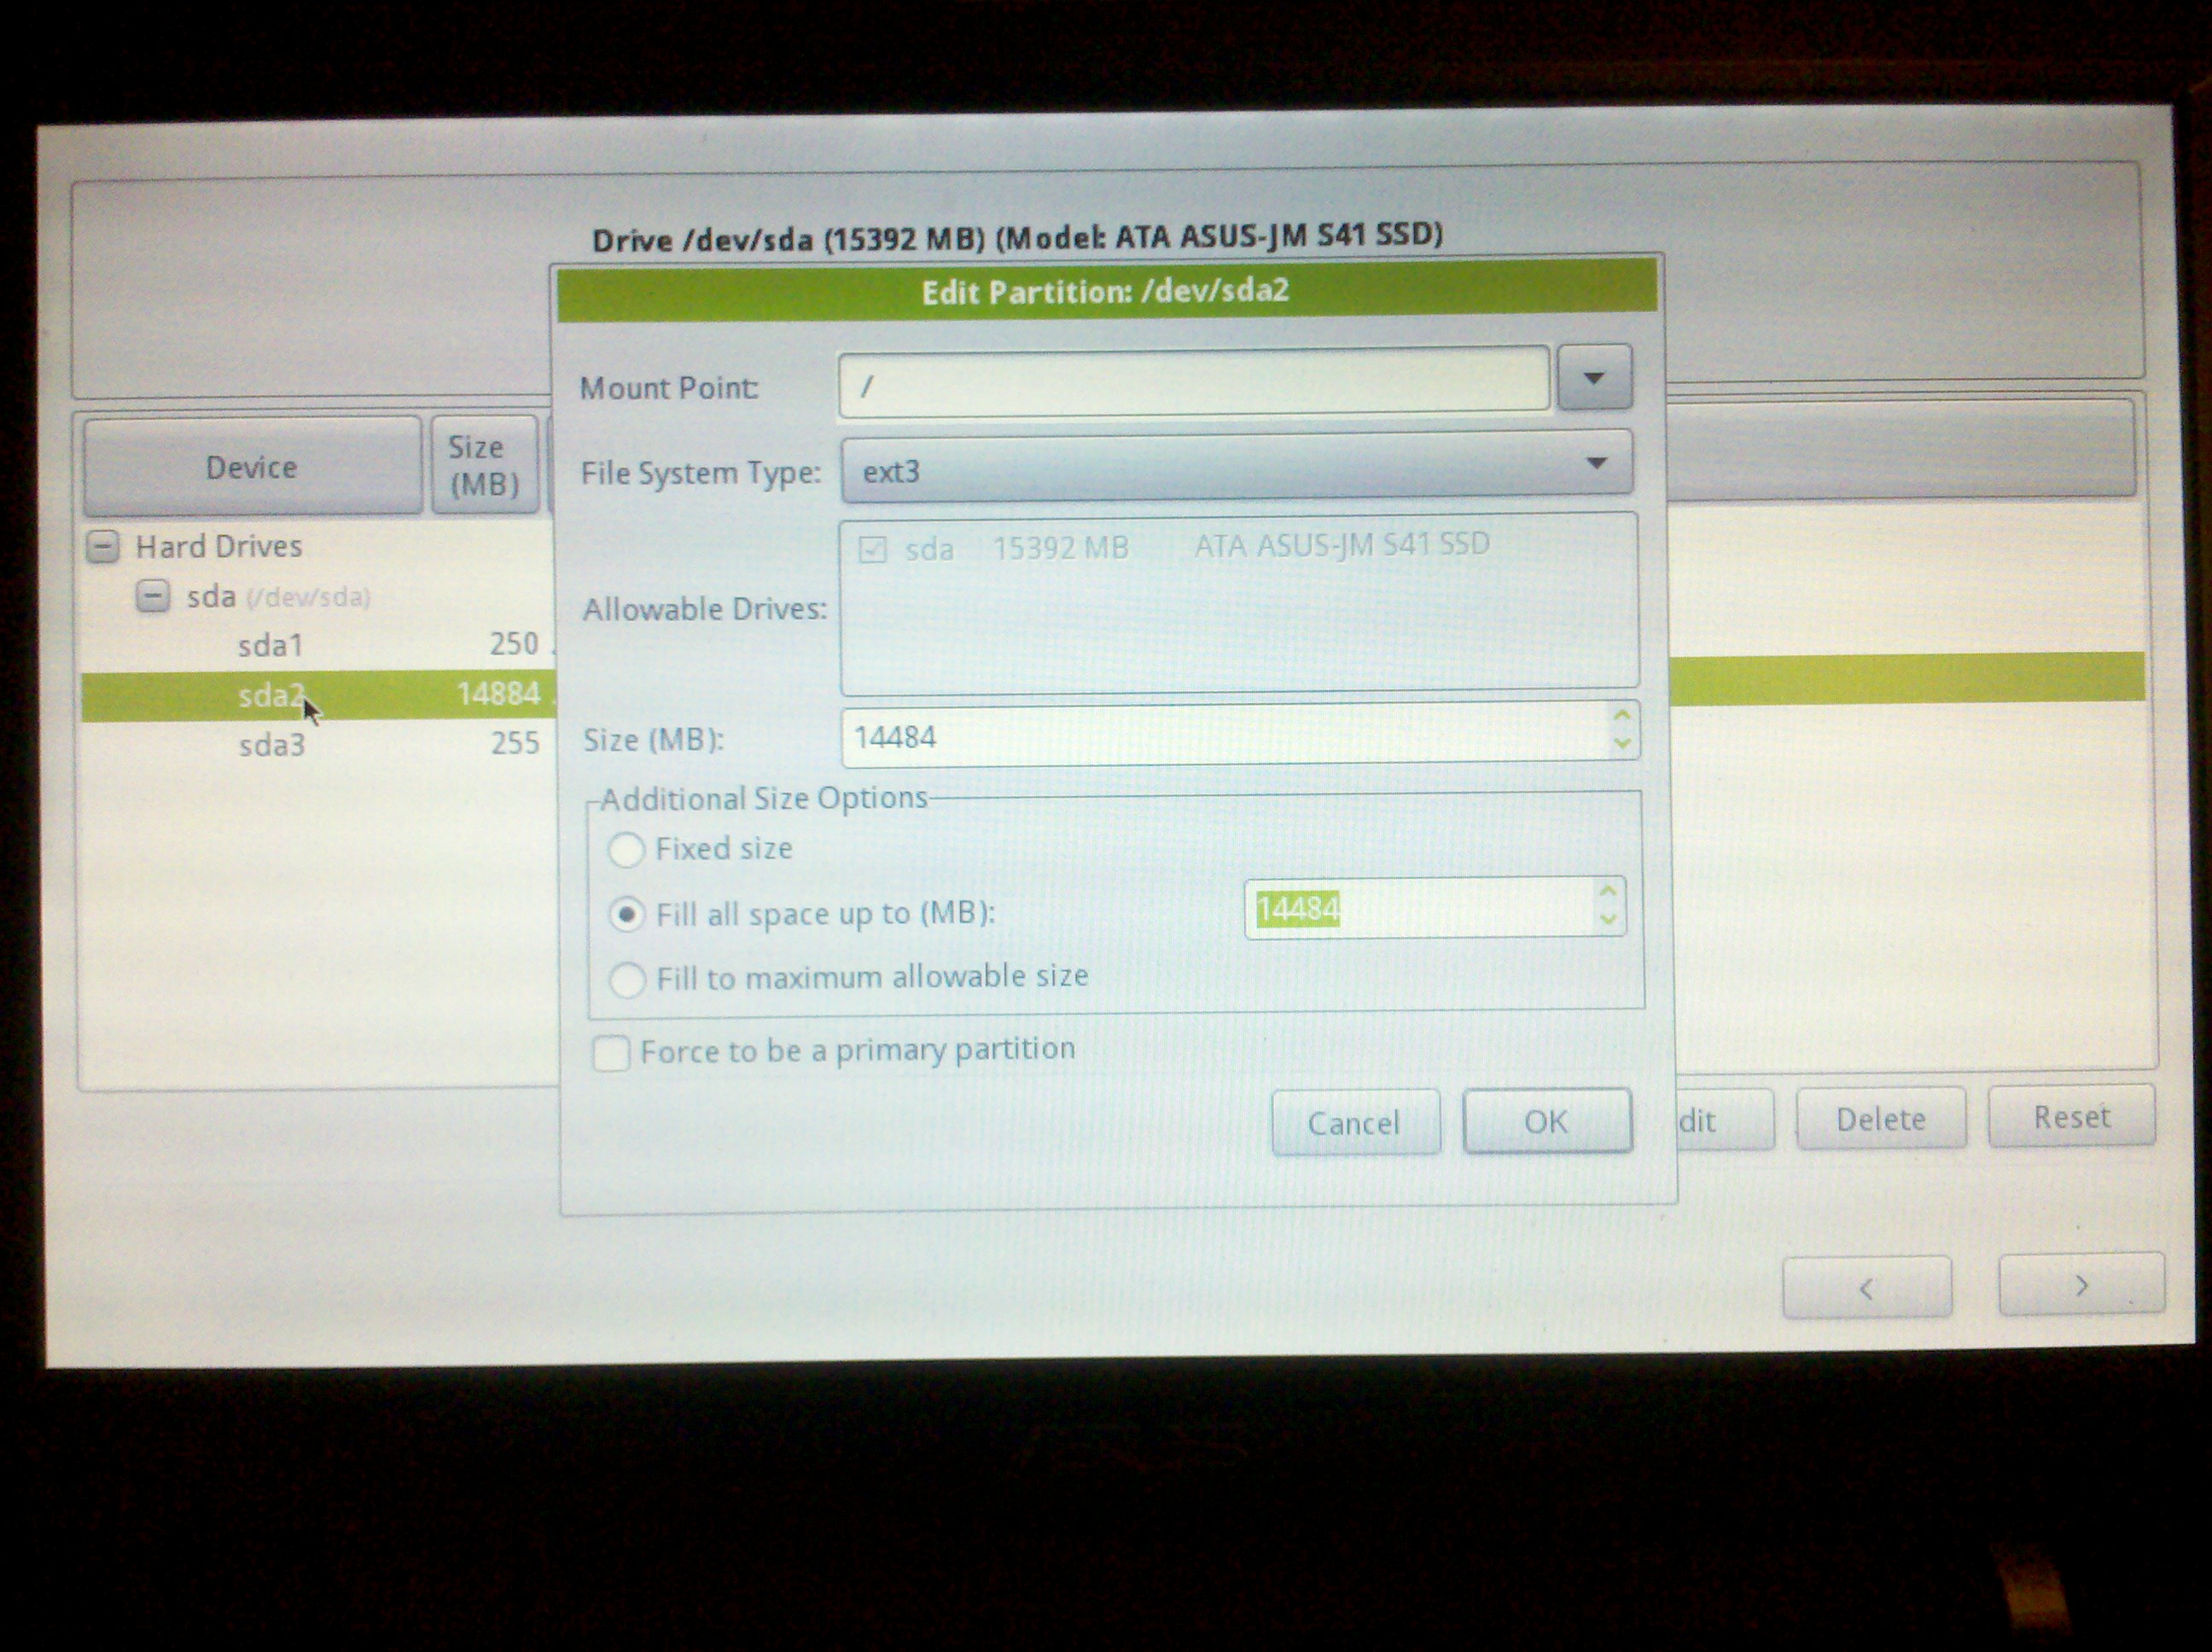
Change the Filesystem type to ext3
Once the installation completes and reboots into the OS, it is supposed to run a setup script which initializes your user account and some settings. For some reason, that script fails to start. The fix for this is to switch to a shell using ctrl + alt + f1, then login as root with the password meego. Once you have a shell, run:
~:# startx &
~:# xterm
That should give you a terminal window in X (the linux GUI). From there you should be able to run the firstboot program.
Does it Work?
That should give you a terminal window in X (the linux GUI). From there you should be able to run the firstboot program.
Since MeeGo is an RPM-based distribution, we can install rpms on the system to replace any broken apps. Unfortunately, you will quickly find yourself tracking down endless chains of dependencies, while simply trying to install something as trivial as wget. But, if you are so lucky as to get wget installed and working, then you can download the linux RPM for Chrome, and install it with the --nodeps flag. Then you will have to run Chrome from the command line with the --no-first-run flag, and you are good to go.