Sharing Laravel Sail via Cloudflare Tunnel
If you're developing a Laravel application using Laravel Sail, and you'd like to securely access your local environment over the internet (e.g., for demos or mobile testing), Cloudflare Tunnel is a fast, free, and secure way to do just that—without needing to expose your router or poke holes in your firewall.
In this guide, we’ll show how to use Cloudflare Tunnel with Docker Compose to expose a Laravel app running in Sail.
🧱 Prerequisites
- Docker and Docker Compose installed
- A Cloudflare account with a domain
- A Laravel project using Laravel and Laravel Sail
🚀 Step 1: Install Docker and Docker Compose
If you don't have Docker and Docker Compose installed, you can install them by following the instructions on the Docker website and Docker Compose website.
📦 Step 2: Create a new Laravel project with Sail
laravel new laravel-sail-tunnel
cd laravel-sail-tunnel
The Laravel installer will ask you a few questions. You can skip them by pressing Enter to accept the default values, or choose your own values that make sense for your project.
We'll also need to install Sail for the project.
php artisan sail:install
The Sail installer will ask you which services you want to install. You can choose the services appropriate for your project, or accept the defaults.
Let's start the project with the following command, and make sure it's working.
vendor/bin/sail up -d
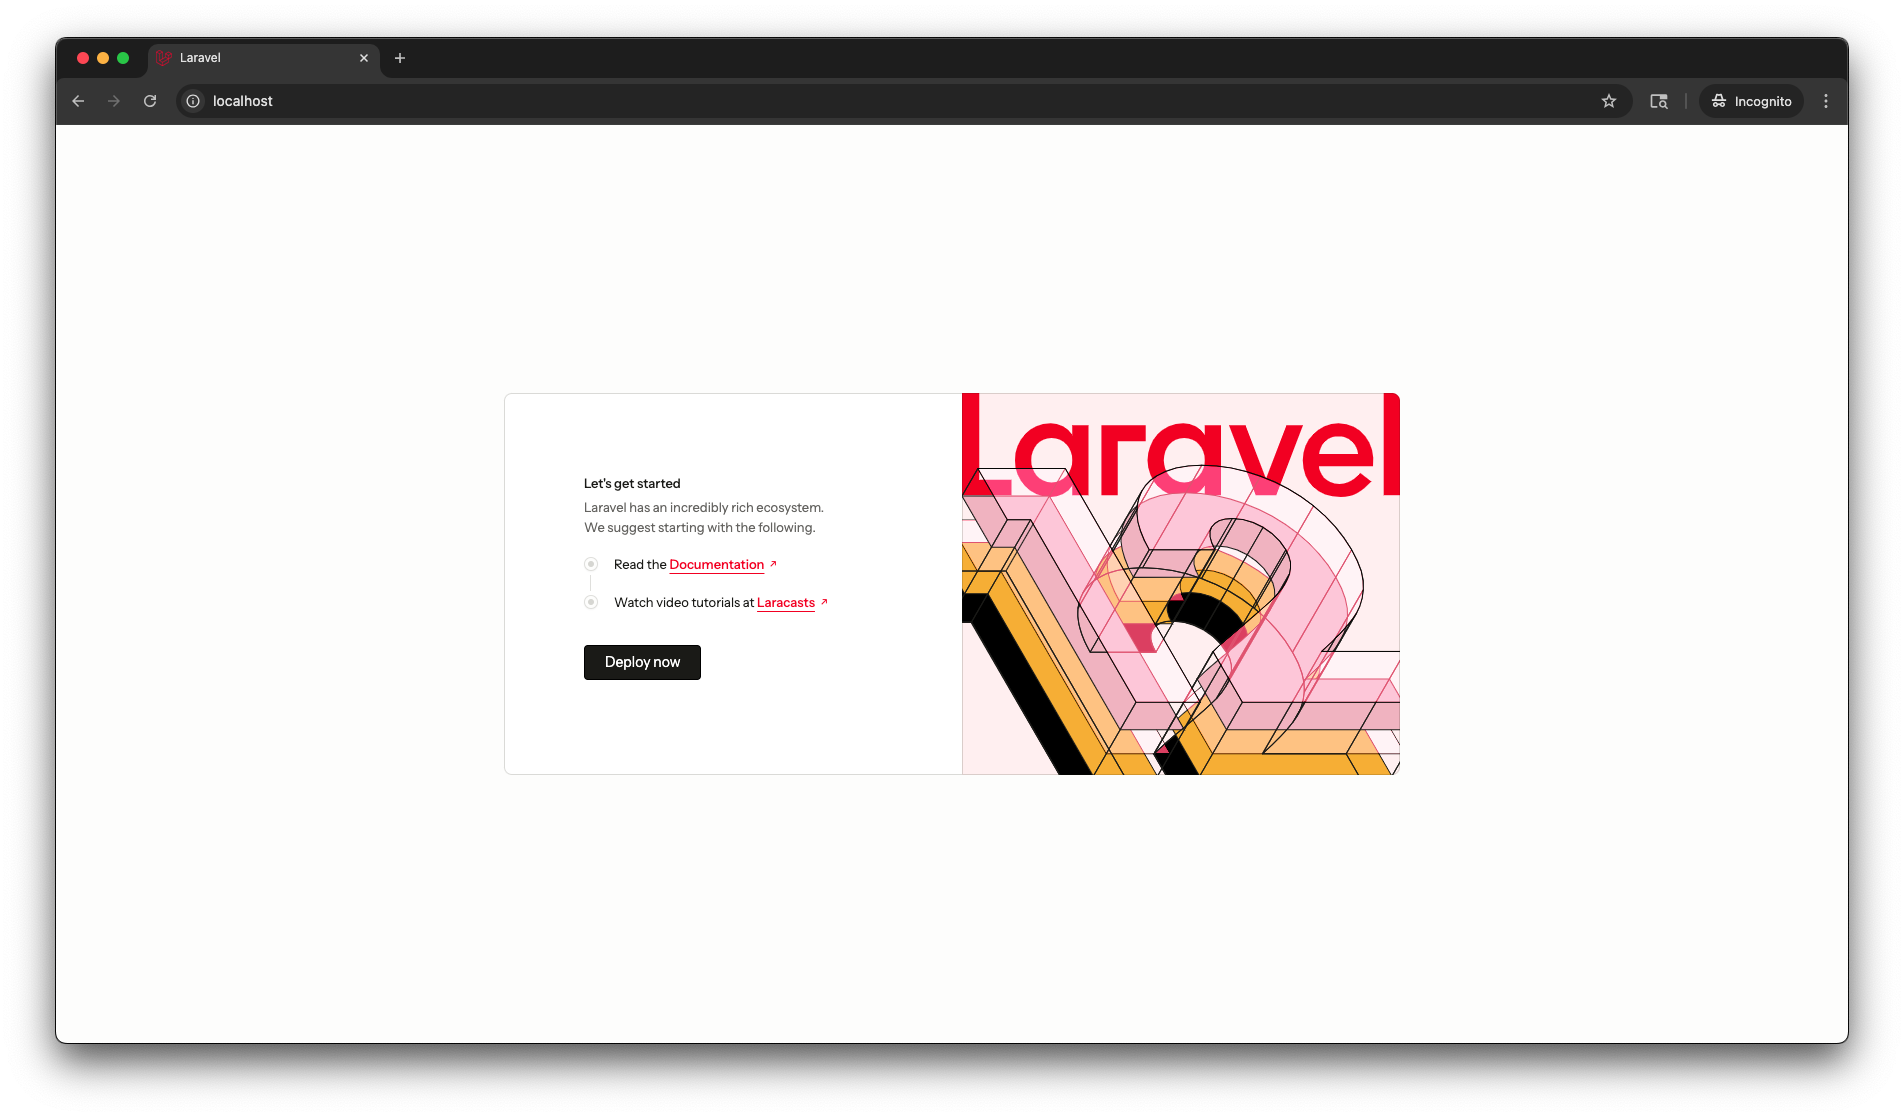
Go to http://localhost:80 in your browser to make sure the project is working. If you get a "Welcome to Laravel" page, you're good to go. If you get an error, you may need to run the database migrations with vendor/bin/sail artisan migrate.
🔧 Step 3: Create a Cloudflare Tunnel
- Authenticate with Cloudflare
docker run --rm -it -v ./.cloudflared:/home/nonroot/.cloudflared cloudflare/cloudflared:latest tunnel login
The login process will ask you to open a browser and authenticate with Cloudflare. Once you've done that, you'll see a cert.pem file in the .cloudflared directory.
cat .cloudflared/cert.pem
We'll be using the Cloudflare container for a number of commands, so let's make a quick alias for it.
alias cloudflare="docker run --rm -it -v ./.cloudflared:/etc/cloudflared cloudflare/cloudflared:latest"
- Create a new tunnel and route it to your domain
cloudflare tunnel create laravel-sail-tunnel
cloudflare tunnel route dns laravel-sail-tunnel sail.yourdomain.com
Copy the tunnel ID and add it to your .env file as CLOUDFLARE_TUNNEL_ID.
CLOUDFLARE_TUNNEL_ID=your-tunnel-id
- Get the tunnel token
cloudflare tunnel token laravel-sail-tunnel
Copy the tunnel token and add it to your .env file as CLOUDFLARE_TUNNEL_TOKEN.
CLOUDFLARE_TUNNEL_TOKEN=your-tunnel-token
📝 Step 5: Add the tunnel to docker-compose.yml
Before we change the docker-compose.yml file, let's make sure our environment is down.
sail down
Now let's add the Cloudflare tunnel to the docker-compose.yml file.
services:
    ...
    cloudflare-tunnel:
        image: cloudflare/cloudflared:latest
        restart: unless-stopped
        command: tunnel --no-autoupdate run --token ${CLOUDFLARE_TUNNEL_TOKEN} --url http://laravel.test:80 ${CLOUDFLARE_TUNNEL_ID}
        environment:
            - CLOUDFLARE_TUNNEL_ID=${CLOUDFLARE_TUNNEL_ID}
            - CLOUDFLARE_TUNNEL_TOKEN=${CLOUDFLARE_TUNNEL_TOKEN}
        depends_on:
            - laravel.test
        networks:
            - sail
🟢 Step 6: Start it up
Bring all service up with the following command:
sail up -d
🧪 Step 7: Test it out
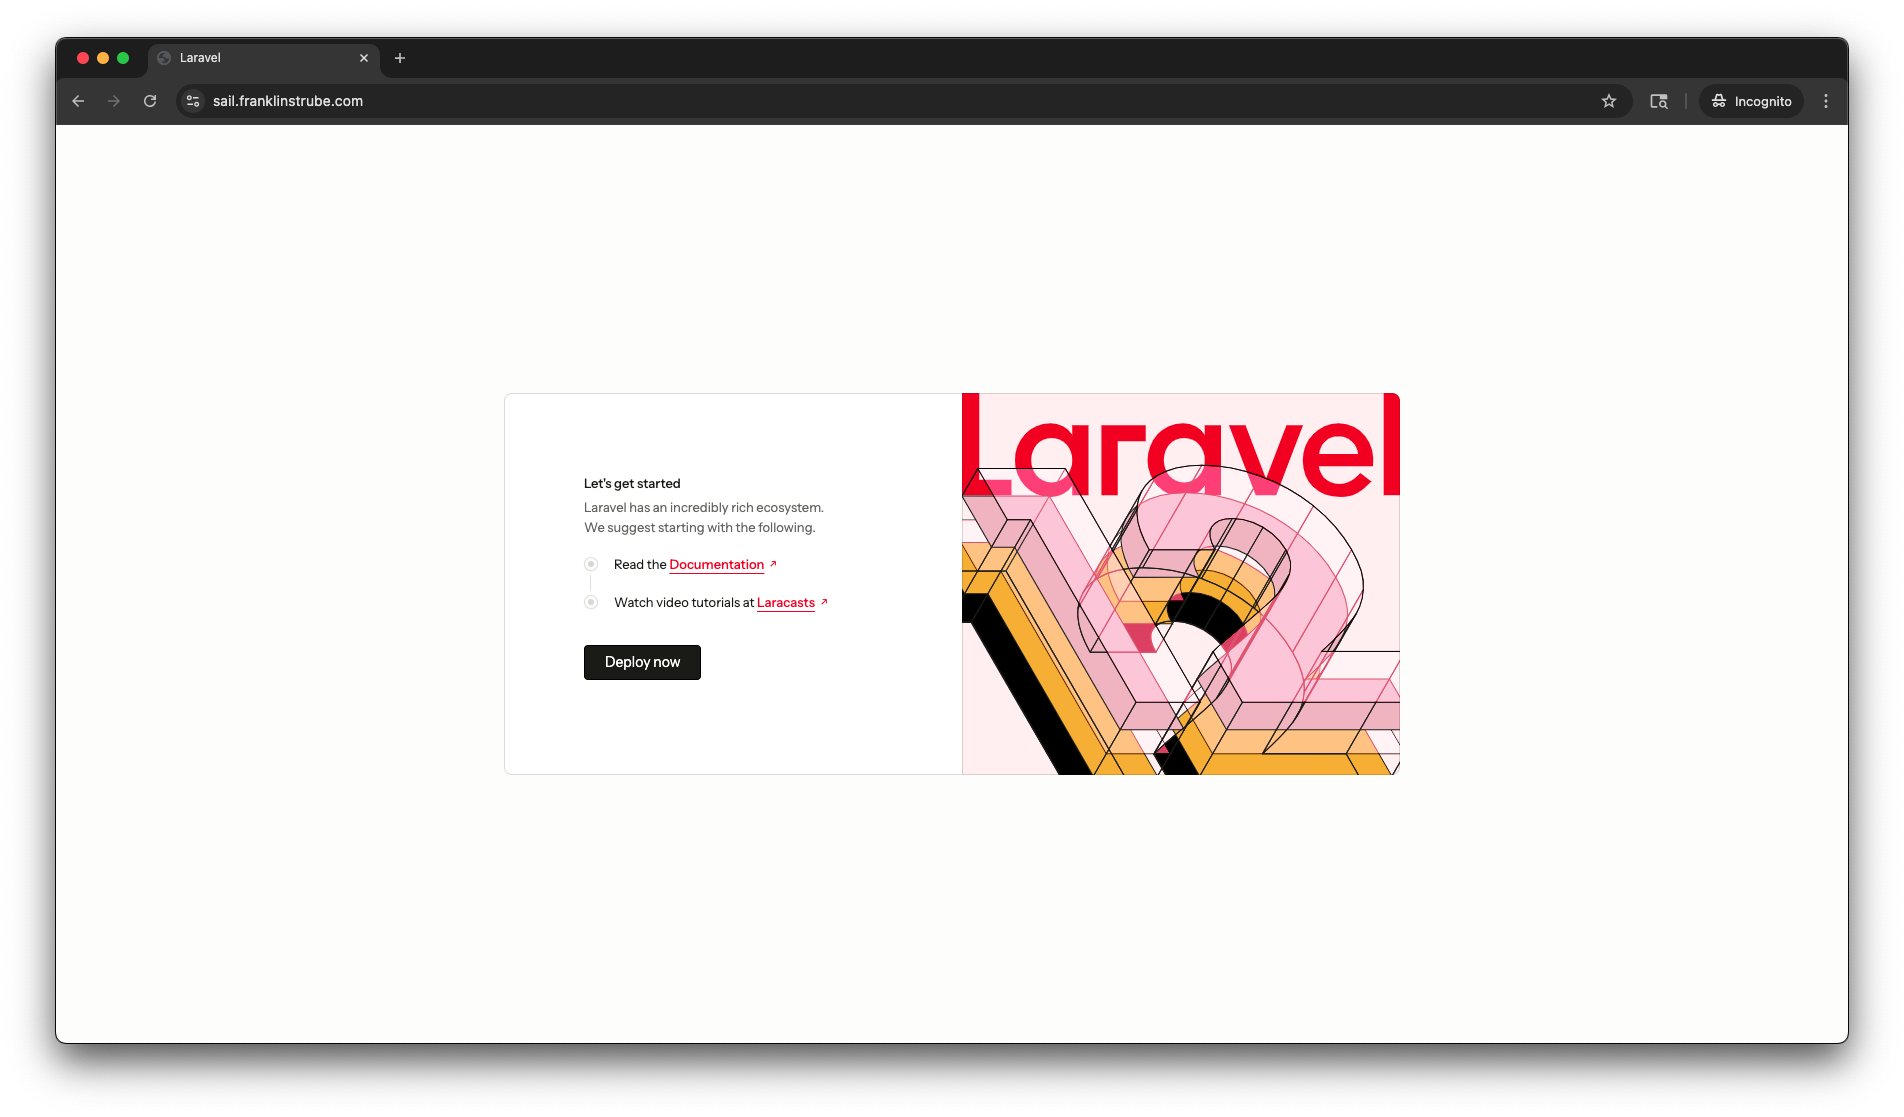
Open your browser and navigate to https://sail.yourdomain.com.
🔍 Troubleshooting Tips
Check the Cloudflare logs for any errors:
sail logs cloudflare-tunnel -f
🤔 Why Use Cloudflare Tunnel?
- Fast and Free: Cloudflare Tunnel is fast and free to use.
- Secure: Cloudflare Tunnel is secure and uses HTTPS.
- Easy to Setup: Cloudflare Tunnel is easy to setup and use.
- Great for mobile testing and demos.
✅ Conclusion
With just a few tweaks to your docker-compose.yml file, you can have a Laravel application running in Docker that's accessible over the internet.
This is a great way to test your application on mobile devices, or to share your application with others for demos or testing.